So, you’re interested in off-grid living and want to know how to preserve food for a long time? Well, fret not, because I’ve got just the thing for you! In this comprehensive guide, we’ll dive deep into the world of food preservation and explore different methods that will help you keep your food fresh and edible for up to 30 years. Sounds intriguing, right? Let’s get started!
When it comes to off-grid living, one of the biggest challenges is ensuring a constant and reliable food supply. And that’s where food preservation comes in. You see, traditional methods like canning, smoking, drying, and fermenting have been used for centuries to keep food from spoiling. But in recent years, new techniques such as freeze-drying and vacuum sealing have gained popularity for their ability to extend the shelf life of food even further.
Throughout this guide, we’ll take a closer look at each method of food preservation, discussing their pros and cons, as well as the necessary equipment and techniques involved. We’ll also touch upon the importance of proper storage conditions and how to minimize the risk of spoilage. So, whether you’re planning for a long-term emergency situation or simply want to be prepared for any unforeseen circumstances, this article will give you all the information you need to confidently preserve your food for years to come.
So, if you’re curious about different food preservation techniques and want to learn more about how to keep your food fresh and tasty for a remarkably long time, you’re in for a treat. By the end of this comprehensive guide, you’ll have a solid understanding of various preservation methods and be well-equipped to embark on your off-grid living journey. So, without further ado, let’s delve into the fascinating world of food preservation!
Preserving Food: A Comprehensive Guide
Preserving food has been a necessity for centuries, allowing individuals and communities to ensure food security, minimize waste, and maintain nutritional value. In this comprehensive guide, we will explore different methods of food preservation, including canning, freezing, dehydration, fermentation, pickling, salting, and smoking. Whether you are new to preserving food or looking to expand your knowledge, this guide will provide you with step-by-step instructions, tips, and tricks to help you successfully preserve food for long-term storage.
The Importance of Preserving Food
Preserving food is essential for several reasons, including ensuring food security, minimizing food waste, maintaining nutritional value, and saving money and resources.
Ensuring Food Security
Preserving food allows you to have a sustainable and reliable food source, even during times of scarcity or emergencies. By preserving food when it’s abundant, you can ensure that you have enough to eat during leaner times.
Minimizing Food Waste
Food waste is a significant problem worldwide, with millions of tons of food being thrown away each year. By preserving food, you can extend its shelf life and reduce the amount of food that goes to waste.
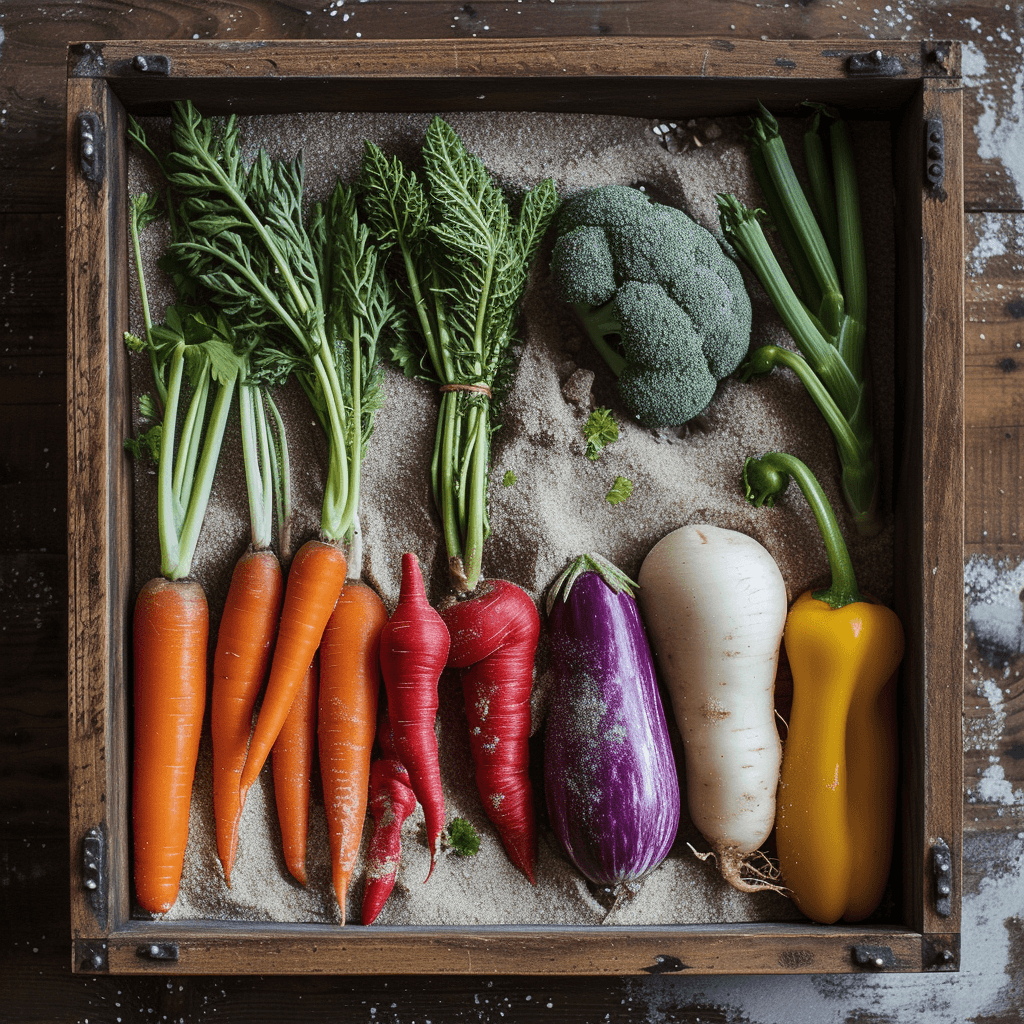
Maintaining Nutritional Value
Fresh fruits and vegetables are packed with essential vitamins and minerals. However, their nutritional value begins to deteriorate as soon as they are harvested. By preserving food, you can lock in the nutrients and enjoy the benefits of fresh produce for longer periods.
Saving Money and Resources
Preserving food allows you to take advantage of seasonal abundance and save money in the long run. By buying in bulk and preserving food, you can reduce your grocery bills and minimize trips to the store. Additionally, food preservation helps to conserve resources by reducing the energy and water required for food production.
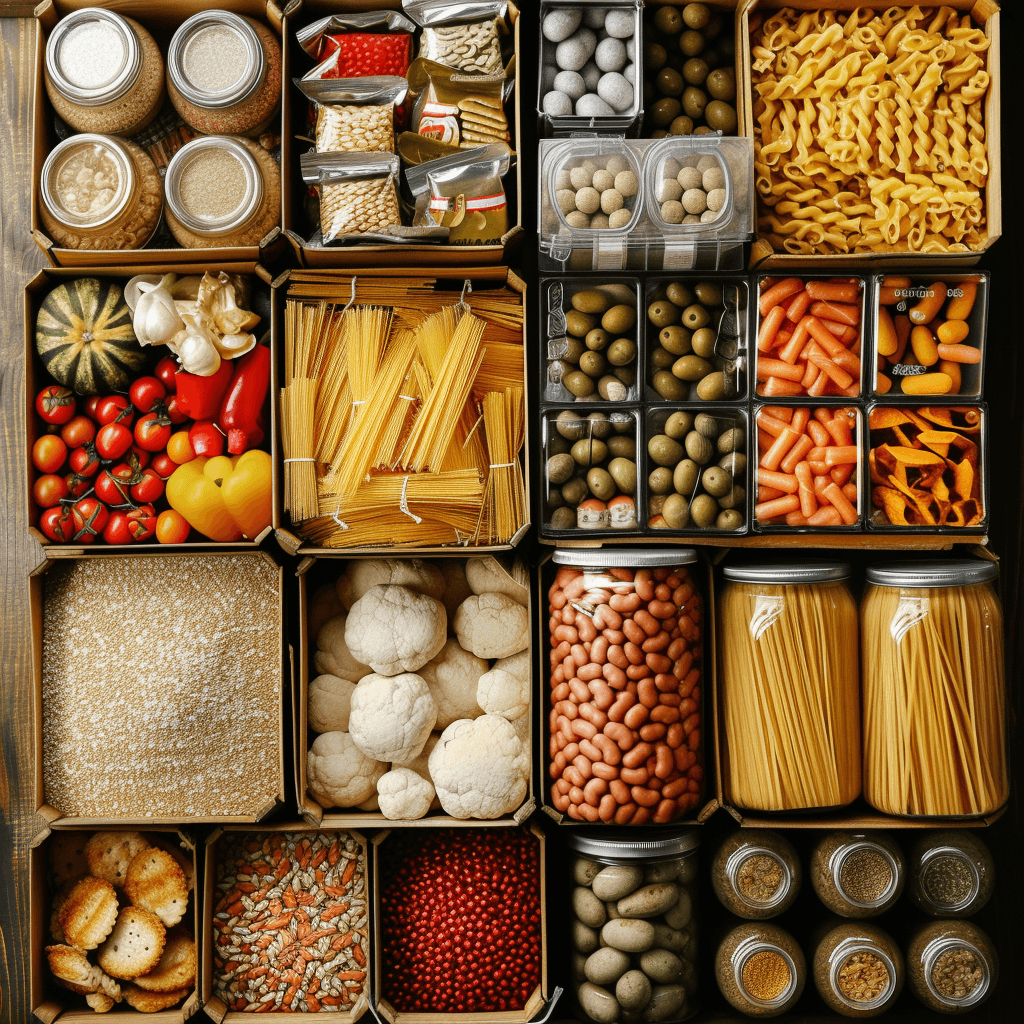
Different Methods of Food Preservation
There are various methods of preserving food, each with its own advantages and limitations. Some popular methods include canning, freezing, dehydration, fermentation, pickling, salting, and smoking.
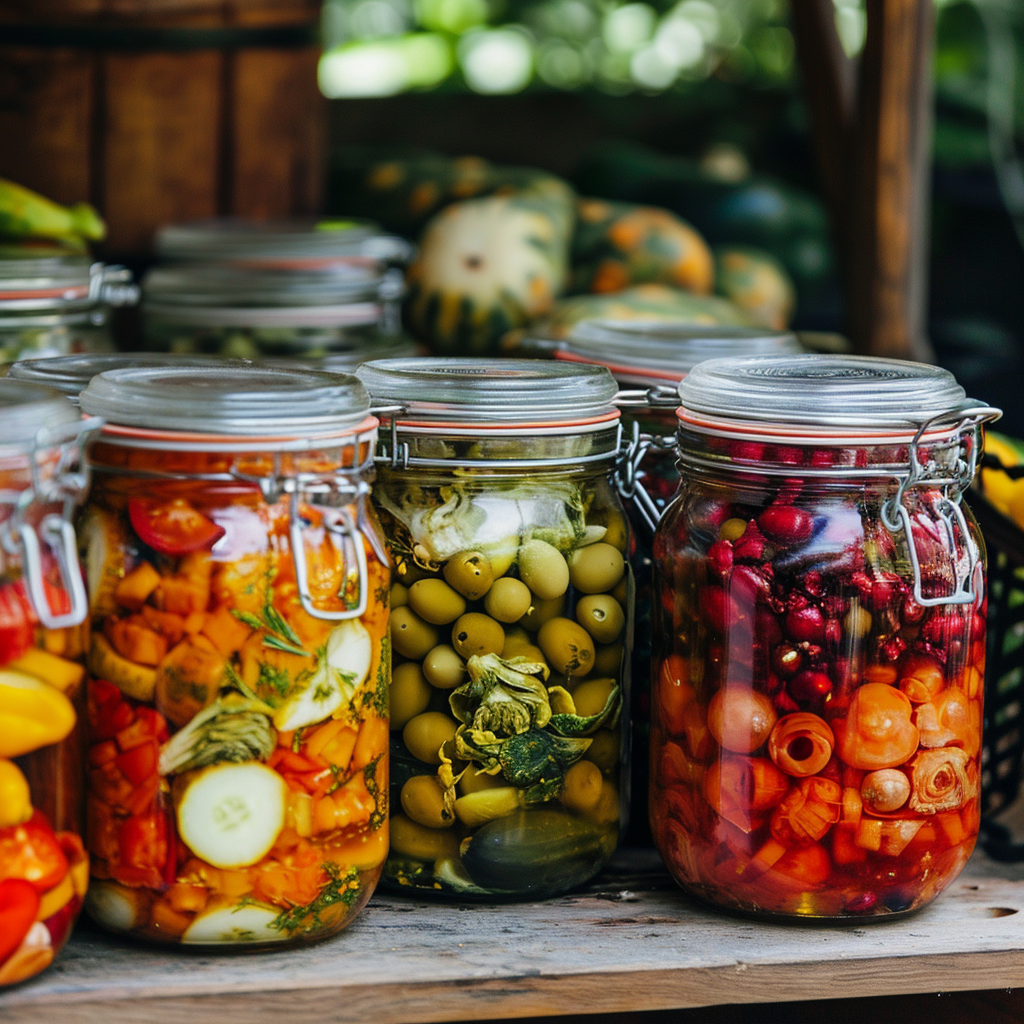
Canning
Canning is a time-tested method of preserving food by sealing it in airtight jars or cans. This method is particularly suitable for high-acid foods like fruits, jams, jellies, and pickles. Canning can be done through water bath canning or pressure canning, depending on the acidity level of the food being preserved.
Freezing
Freezing is a popular preservation method that involves storing food at subzero temperatures to inhibit the growth of bacteria, yeast, and molds. This method is suitable for a wide range of foods, including fruits, vegetables, meats, and prepared meals. Freezing preserves the freshness, texture, and nutritional value of food for an extended period.
Dehydration
Dehydration is an ancient preservation method that involves removing the moisture from food, making it inhospitable for bacteria and other microorganisms to grow. Dehydrated foods can be stored at room temperature and provide a lightweight and compact alternative to fresh produce. Dehydration is ideal for fruits, vegetables, herbs, and jerky.
Fermentation
Fermentation is a preservation method that utilizes the natural process of fermentation to preserve and transform food. This method involves the conversion of sugars into alcohol or organic acids by microorganisms such as yeast or bacteria. Fermented foods include sauerkraut, kimchi, yogurt, and kombucha.
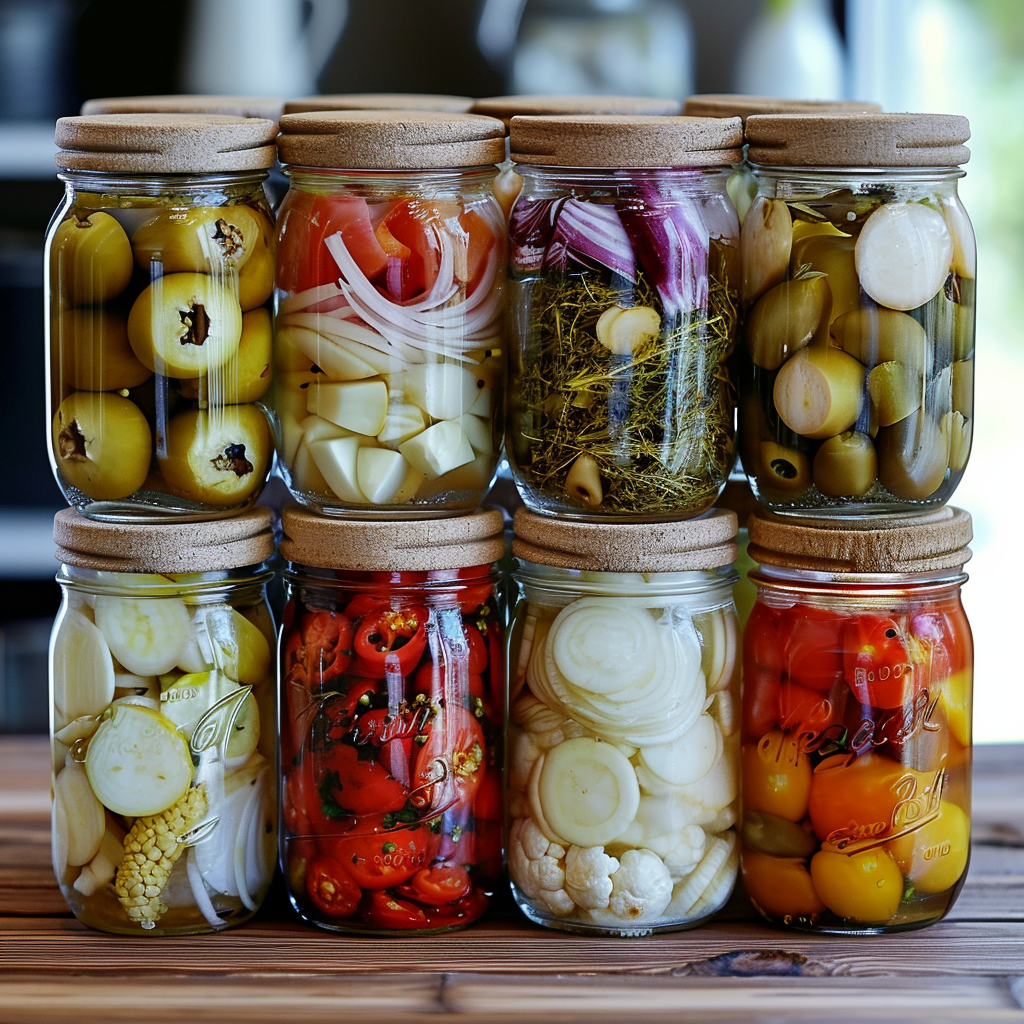
Pickling
Pickling is a preservation method that involves immersing food in a solution of vinegar, salt, and spices. The acidic environment created by the vinegar helps to prevent the growth of bacteria and prolong the shelf life of the food. Pickled foods include cucumbers, beets, onions, and eggs.
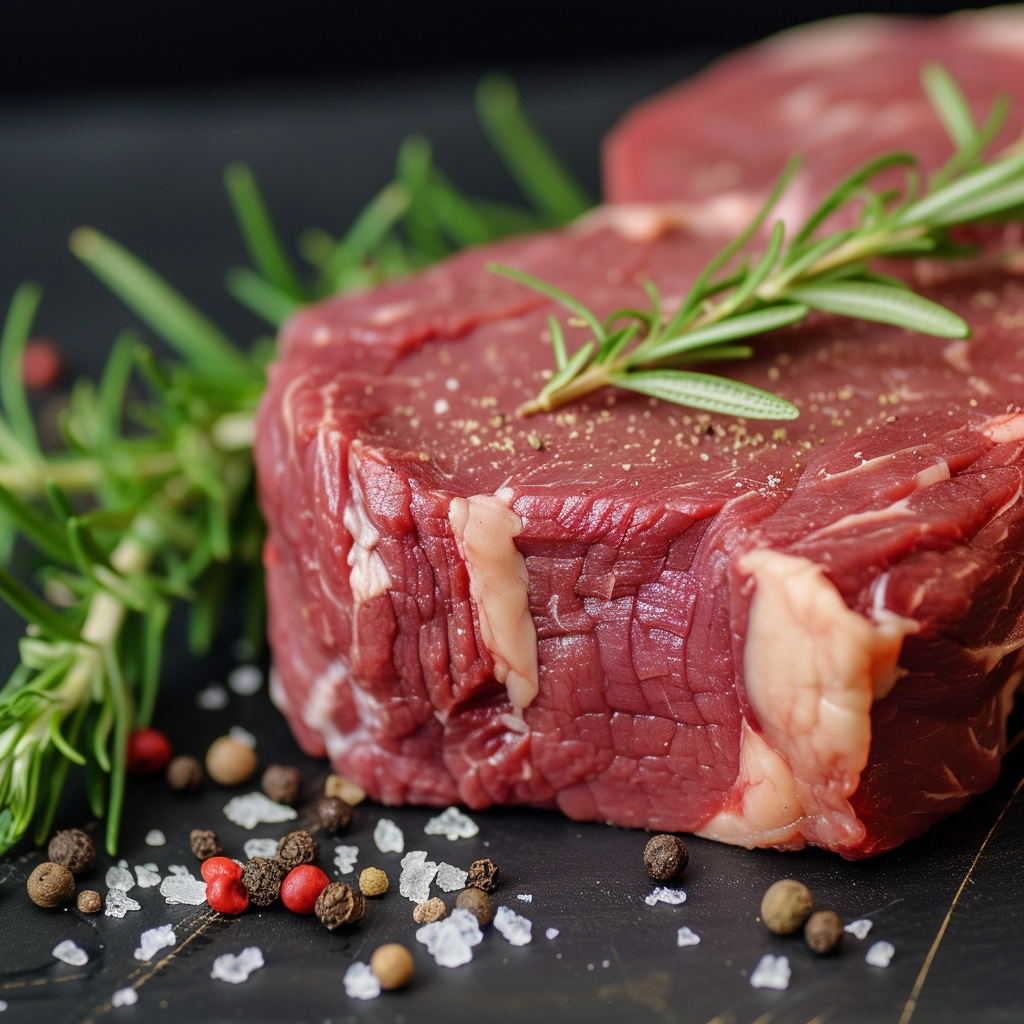
Salting and Smoking
Salting and smoking are traditional preservation methods that have been used for centuries. Salting draws moisture out of the food, creating an environment that is inhospitable to bacteria. Smoking further enhances the preservation process by exposing the food to smoke, which contains antimicrobial properties. These methods are commonly used to preserve fish and meats.
Now that we have explored the different methods of food preservation, let’s delve deeper into the canning process, one of the most popular and reliable preservation techniques.
Canning: A Timeless Preservation Technique
Canning is a versatile preservation method that allows you to preserve a wide range of foods. By sealing them in airtight jars, you create a barrier that prevents the growth of microorganisms and bacteria, thus extending the shelf life of your food. Canning can be done through the water bath canning method for high-acid foods or the pressure canning method for low-acid foods.
Understanding the Basics of Canning
Canning relies on heat, acidity, and an airtight seal to preserve food. Heat kills any existing bacteria, acidity prevents the growth of new bacteria, and the airtight seal keeps the food safe from recontamination. Both water bath canning and pressure canning follow these principles, with slight differences in the processing methods.
Benefits of Canning
Canning has many benefits. It allows you to preserve the flavors, textures, and nutritional value of your food for long periods. Canned foods are convenient and readily available, making meal planning and preparation easier. Additionally, canning allows you to enjoy seasonal produce year-round and reduce your reliance on store-bought processed foods.
Required Equipment and Supplies
To get started with canning, you will need specific equipment and supplies. These include canning jars, lids, bands, a canning pot or pressure canner, a jar lifter, a headspace tool, a bubble remover, a canning funnel, and an accurate thermometer. It’s essential to use the correct equipment to ensure the safety and success of your canning process.
Preparing Your Food for Canning
Before you can begin the canning process, you must properly prepare your food. This involves washing, peeling, and cutting fruits and vegetables, blanching or cooking certain foods, and pre-treating them with additives such as sugar or salt if desired. Proper preparation ensures that your canned food remains safe and enjoyable to eat.
Sterilizing Jars and Lids
To prevent microbial contamination, it’s crucial to sterilize your canning jars and lids before use. This can be done by boiling the jars and lids in water for a specified period or using a dishwasher with a sanitize cycle. Sterilizing ensures that your preserved food stays safe and extends its shelf life.
Properly Sealing and Processing Jars
When canning, it’s crucial to ensure a proper seal on your jars. This is achieved through the use of new lids, proper headspace, and correct band tightening. Once your jars are sealed, they need to be processed in either a water bath canner or a pressure canner, depending on the acidity level of the food being preserved. Proper processing destroys any remaining bacteria and ensures the safety of your canned food.
Storing Canned Food
Once your jars have been processed and allowed to cool, it’s essential to store them in a cool, dark, and dry place. Canned food should be stored between 50 to 70 degrees Fahrenheit (10 to 21 degrees Celsius) to maintain its quality and safety. It’s recommended to use canned food within a year for optimal freshness, although many canned foods can last for several years if stored correctly.
Safety Considerations
Canning requires attention to detail and adherence to safety guidelines to prevent the growth of harmful bacteria like Clostridium botulinum, which can cause botulism. It’s essential to follow proper canning procedures, including using tested recipes, regulating heat and pressure, and always inspecting jars and lids for any signs of spoilage before consumption.
Now that you understand the basics of canning, let’s dive into a step-by-step guide on how to can your own food.
Step-by-Step Guide to Canning Your Own Food
Canning your own food is a rewarding and practical way to preserve the goodness of seasonal produce. Here is a step-by-step guide to help you successfully can your own food at home.
Choosing the Right Foods for Canning
Not all foods are suitable for canning. It’s important to select high-quality, fresh produce that is at its peak ripeness. Fruits and vegetables that are slightly underripe are ideal for canning, as they will retain their texture and flavor during the process.
Preparation and Cleaning of Produce
Wash your produce thoroughly under running water to remove any dirt or contaminants. Peel, pit, and slice fruits as desired, and cut vegetables into appropriate sizes. Certain foods may require blanching or cooking before canning to ensure proper preservation.
Deciding Between Water Bath and Pressure Canning
Determine whether your food requires water bath canning or pressure canning. High-acid foods, such as fruits, jams, and pickles, can be safely canned using the water bath method. Low-acid foods, such as vegetables, meats, and seafood, require the higher temperatures achieved through pressure canning to destroy any potential harmful bacteria.
Filling and Sealing Jars
Fill your sterilized jars with prepared food, leaving the recommended headspace as specified in your canning recipe. Wipe the jar rims clean to ensure a good seal, place the lids on top, and secure them with the bands. Ensure that the bands are tightened but not overly tight, as air must be able to escape during processing.
Processing Jars in a Water Bath or Pressure Canner
For water bath canning, place your filled and sealed jars on a rack inside a large pot and cover them with water. Bring the water to a boil and process the jars for the recommended time provided in your canning recipe. For pressure canning, follow the specific instructions for your pressure canner to achieve the correct pressure and processing time.
Cooling, Checking Seals, and Storing
After the processing time is complete, carefully remove the jars from the canner using a jar lifter and place them on a towel or cooling rack. Allow the jars to cool undisturbed for 12 to 24 hours. Once cool, check the seals by pressing down on the center of each lid. If a lid does not flex up and down, the jar is sealed properly. Remove the bands, wash the jars, label them with the contents and date, and store them in a cool, dark, and dry place.
Enjoying the Fruits of Your Labor
Your canned foods are now ready to be enjoyed! Incorporate them into your everyday cooking, from adding canned tomatoes to your pasta sauce or enjoying your homemade jam on toast. Canned foods can be used in a variety of recipes or enjoyed on their own for a taste of freshness year-round.
Now that you have learned how to can your own food, let’s explore another popular preservation method: pressure canning.
Pressure Canning: A Safe and Efficient Method
Pressure canning is a key preservation method for low-acid foods that require higher temperatures to destroy harmful bacteria. This method uses a pressure canner to create a controlled environment that reaches the necessary heat levels for safe food preservation. Pressure canning provides an efficient and reliable way to store foods such as vegetables, meats, and seafood for long periods.
Understanding Pressure Canning
Pressure canning is a process that utilizes steam pressure to achieve the high temperatures required for safely canning low-acid foods. The higher temperatures attained in a pressure canner destroy bacteria, molds, and yeasts that can cause spoilage or illness if consumed. The steam pressure creates a sterile environment within the canner, ensuring the safety of your preserved food.
Benefits of Pressure Canning
Pressure canning offers several benefits for food preservation. It allows you to safely preserve low-acid foods, such as vegetables, meats, and seafood, which cannot be safely canned using the water bath method. Pressure canning also ensures that your food remains flavorful, nutritious, and safe to eat for an extended period, making it an excellent method for long-term food storage.
Recommended Foods for Pressure Canning
Low-acid foods are best suited for pressure canning. This includes vegetables like green beans, carrots, and corn, as well as meats, poultry, seafood, and soups. These foods have a pH level above 4.6, making them unsafe for water bath canning due to the risk of bacterial growth. Pressure canning provides the necessary temperatures to destroy harmful bacteria and create a safe and stable product.
Essential Equipment for Pressure Canning
To pressure can your own food at home, you will need essential equipment, including a pressure canner, canning jars, lids, and bands, a jar lifter, a headspace tool, a bubble remover, a canning funnel, and an accurate thermometer. It’s important to use a pressure canner specifically designed for canning, as it provides the necessary pressure and temperature control for safe food preservation.
Proper Procedures and Steps
When pressure canning, it’s crucial to follow proper procedures and steps to ensure the safety and success of your preserved food. This includes selecting appropriate foods, properly preparing the produce, filling and sealing jars, and processing them in the pressure canner according to the recommended time and pressure settings. It’s essential to accurately measure and follow all instructions to achieve the desired results.
Ensuring Safety and Accuracy
Pressure canning relies on accurate measurements and adherence to safety guidelines to create a safe and enjoyable end product. It’s important to use tested recipes from reputable sources and follow the recommended processing times and pressures. Regularly inspect your equipment for any signs of wear or damage and always consult reliable sources for the most up-to-date safety information.
Storing Pressure Canned Food
After processing and cooling your pressure canned jars, it’s essential to store them properly to maintain their quality and safety. Remove the bands, wash the jars, and check the seals by pressing down on the center of each lid. If a lid does not flex up and down, the jar is sealed properly. Label the jars with the contents and date and store them in a cool, dark, and dry place.
Tips for Successful Pressure Canning
Here are a few tips to ensure successful pressure canning:
- Always follow tested recipes from reputable sources to ensure food safety.
- Check the accuracy of your pressure canner’s gauge or dial before each use.
- Use the specified amount and type of pressure needed based on your altitude.
- Allow the pressure canner to cool and the pressure to return to zero naturally before opening.
- Regularly check your canning equipment for any signs of wear or damage.
- Practice proper hygiene and cleanliness throughout the canning process.
- Educate yourself on the most updated safety guidelines and recommendations from reliable sources.
Now that you have learned about pressure canning, let’s explore another popular preservation method: freezing.
Freezing: Preserving Freshness for Later
Freezing is a versatile and convenient method of food preservation that allows you to enjoy the freshness of seasonal produce throughout the year. This method involves reducing the temperature of food below its freezing point, inhibiting the growth of bacteria, yeast, and molds. Freezing is an excellent way to preserve fruits, vegetables, meats, and prepared meals.
Introduction to Freezing as a Preservation Method
Freezing is a widely used preservation method that relies on lowering the temperature to below 0 degrees Celsius (32 degrees Fahrenheit). By freezing food, you halt the growth of microorganisms and preserve the freshness, texture, and nutritional value of the food for an extended period. Freezing is a practical and accessible method that can be done in most households.
Benefits and Limitations of Freezing
Freezing offers several benefits for food preservation. It allows you to preserve the natural flavor, color, and texture of food, making it an excellent option for fruits and vegetables. Freezing also helps to maintain the nutritional value of produce, as the freezing process does not significantly degrade important vitamins and minerals. However, freezing can affect the texture of certain foods, such as leafy greens and delicate fruits, which may become limp or mushy after thawing.
Proper Packaging and Materials for Freezing
Proper packaging is crucial when freezing food, as it helps to maintain quality, prevent freezer burn, and minimize the risk of contamination. Use containers specifically designed for freezing, such as rigid plastic containers, freezer bags, or vacuum-sealed pouches. Ensure that the packaging is airtight and moisture-proof to prevent the loss of flavor and nutrients and preserve the quality of the food.
Techniques for Freezing Different Foods
Different foods require different freezing techniques to ensure optimal results. Here are some techniques for freezing common types of food:
- Fruits: Wash, peel, and remove any pits or seeds. Slice or chop the fruits as desired and freeze them in a single layer on a baking sheet before transferring them to a freezer bag or container.
- Vegetables: Blanch vegetables by briefly boiling or steaming them, then plunge them into ice water to stop the cooking process. Drain well and pack them into freezer bags or containers.
- Meats and Seafood: Wrap meats and seafood tightly in freezer paper or foil, removing as much air as possible. Place them in a freezer bag or container for added protection.
- Prepared Meals: Allow prepared meals to cool before dividing them into individual portions. Pack them in freezer containers or freezer bags, making sure to remove excess air.
Thawing and Utilizing Frozen Foods
Thawing frozen food properly is essential to maintain its quality and safety. It’s best to thaw food in the refrigerator, allowing it to gradually thaw at a safe temperature. For faster thawing, you can use the cold water method by placing the food in a leak-proof bag and submerging it in cold water. Avoid thawing food at room temperature, as it can promote bacterial growth.
Once thawed, frozen foods can be utilized in a variety of ways. Fruits can be enjoyed as is or used in smoothies, baked goods, and desserts. Vegetables can be cooked or added directly to recipes. Meats and seafood can be seasoned and cooked as desired. Prepared meals can be reheated according to the specific instructions for each dish.
Avoiding Freezer Burn
Freezer burn is a common issue that occurs when food is improperly packaged or exposed to air in the freezer. It manifests as grayish-brown spots or patches, and the affected areas may become dry, leathery, or discolored. To avoid freezer burn, ensure that your food is tightly sealed in airtight containers or freezer bags, removing as much air as possible. Store food in the coldest part of the freezer and avoid frequent opening and closing of the freezer door.
Creative Uses for Frozen Foods
Frozen foods can be utilized in various creative ways, beyond the typical uses. Here are a few ideas to make the most of your frozen foods:
- Frozen fruits can be blended into refreshing smoothies or made into homemade fruit popsicles.
- Frozen vegetables can be added to soups, stir-fries, or casseroles for a quick and nutritious meal.
- Frozen meats and seafood can be marinated and grilled or used in slow cooker recipes for convenient meal prep.
- Frozen prepared meals can be customized with additional ingredients or used as a base for creative dishes.
Extend Shelf Life with Deep Freezing
Deep freezing is a technique that involves freezing food at an even lower temperature than standard freezing to extend its shelf life further. This method is commonly used for long-term storage of meats, fish, and other perishable items. To deep freeze, wrap the food tightly in plastic wrap or foil, then place it in a freezer bag or airtight container. Label the package with the contents and date and store it in the coldest part of the freezer.
Now that you have learned about freezing as a preservation method, let’s explore some tips and tricks for successful freezing.
Tips and Tricks for Successful Freezing
Successful freezing requires attention to detail and proper pre-treatment techniques to ensure the best possible results. Here are some tips and tricks to help you make the most of your freezing endeavors:
Preparation and Pre-treatment Techniques
- Wash and dry produce thoroughly before freezing to remove any dirt or contaminants.
- Blanch vegetables before freezing to preserve color, texture, and nutrition.
- Refresh fruits and vegetables in ice water before freezing to maintain their crispness.
- Remove excess air from packaging to prevent freezer burn and maintain quality.
- Label all packages with the contents and date for easy identification.
Using Blanching to Preserve Quality
Blanching is a pre-treatment technique that involves briefly boiling or steaming vegetables before freezing. Blanching helps to preserve color, texture, and nutrients, while also destroying enzymes that can cause the food to deteriorate. To blanch vegetables, bring a pot of water to a rolling boil and immerse the vegetables for a short period before transferring them to an ice bath to cool rapidly.
Proper Sealing for Optimal Storage
Proper sealing is crucial to prevent freezer burn and maintain the quality of your frozen food. When using freezer bags, squeeze out as much air as possible before sealing. If using rigid containers, choose sizes that allow for the least amount of headspace, as excess air can lead to freezer burn. Vacuum sealing is another option for removing air and creating a tight seal.
Labeling and Organizing Your Freezer
Labeling your frozen packages with the contents and date of freezing is essential for easy identification and organization. Use freezer-grade labels or permanent markers to ensure the labels do not fade or become unreadable. Additionally, consider organizing your freezer by food type or meal category to make it easier to find and access specific items.
Properly Defrosting Foods
When it comes time to use your frozen food, proper defrosting techniques are important to maintain quality and safety. The safest method is to thaw food in the refrigerator, allowing it to thaw gradually at a safe temperature. For faster thawing, use the cold water method by placing the food in a leak-proof bag and submerging it in cold water, changing the water every 30 minutes. Avoid thawing food at room temperature, as it can promote bacterial growth.
Avoiding Common Freezing Pitfalls
To avoid common freezing pitfalls, keep the following tips in mind:
- Freeze only high-quality, fresh produce that is in peak condition.
- Cool foods completely before freezing to prevent condensation and ice crystal formation.
- Do not overload your freezer, as it may affect the freezing process and compromise the quality of the food.
- Do not refreeze food that has been previously thawed, as it can lead to bacterial growth and foodborne illnesses.
- Rotate your frozen stock regularly, utilizing older items first to ensure freshness.
Maximizing Freezer Space
To maximize your freezer space, employ these space-saving techniques:
- Use stackable containers that fit neatly together.
- Freeze items in flat, thin packages to allow for efficient stacking.
- Consider investing in a chest freezer or additional freezer space if you frequently preserve large quantities of food.
By following these tips and tricks, you can ensure successful freezing and enjoy the benefits of preserved food for months to come.
Now that you have learned about freezing as a preservation method, let’s explore another ancient technique: dehydration.
Dehydration: An Ancient Preservation Method
Dehydration is an ancient preservation method that involves removing the moisture from food. By reducing the water content, dehydration creates an environment that is inhospitable for bacteria and other microorganisms to grow. Dehydrated foods are lightweight, compact, and have a long shelf life, making them ideal for camping, hiking, or as emergency food supplies.
Understanding the Dehydration Process
Dehydration is the process of removing moisture from food, either through air drying or using low heat. By eliminating moisture, dehydration inhibits bacterial growth and enzymatic reactions that cause food spoilage. Removing water from food also reduces its weight and volume, making it more convenient for storage and transportation.
Advantages of Dehydrated Food
Dehydrated food offers several advantages as a preservation method. Here are some of the benefits of dehydrated food:
- Lightweight and compact: Dehydrated food is lightweight and takes up minimal space compared to fresh or canned food. This makes it an excellent option for backpacking, camping, or emergency preparedness.
- Long shelf life: Dehydrated food can last for months or even years if stored in airtight containers in a cool and dry place. This long shelf life allows you to stock up on seasonal produce and enjoy it throughout the year.
- Retains nutrients: Dehydration preserves most of the nutrients in food, including vitamins, minerals, and antioxidants. While the drying process may lead to some nutrient loss, dehydrated food remains a nutritious option.
- Versatile and convenient: Dehydrated food can be rehydrated and used in various recipes, such as soups, stews, or stir-fries. It can also be enjoyed as a snack on its own, providing a lightweight and portable source of nutrition.
Different Dehydration Techniques
There are different techniques for dehydrating food, each suited for specific types of produce and personal preference. Some common dehydration methods include air drying, sun drying, oven drying, and using food dehydrators. The method you choose may depend on the availability of equipment, climate conditions, and the volume of food you are dehydrating.
Preparing Food for Dehydration
Before dehydrating your food, proper preparation is essential to achieve the best results. Here are some steps to follow when preparing food for dehydration:
- Wash fruits and vegetables thoroughly to remove any dirt or contaminants.
- Peel, core, and slice produce into uniform pieces for even drying.
- Blanch vegetables before dehydrating to preserve color and nutrients.
- Remove excess moisture from food surfaces using a clean towel or paper towel.
- Treat fruits prone to browning, such as apples or pears, with an acidic solution before dehydrating.
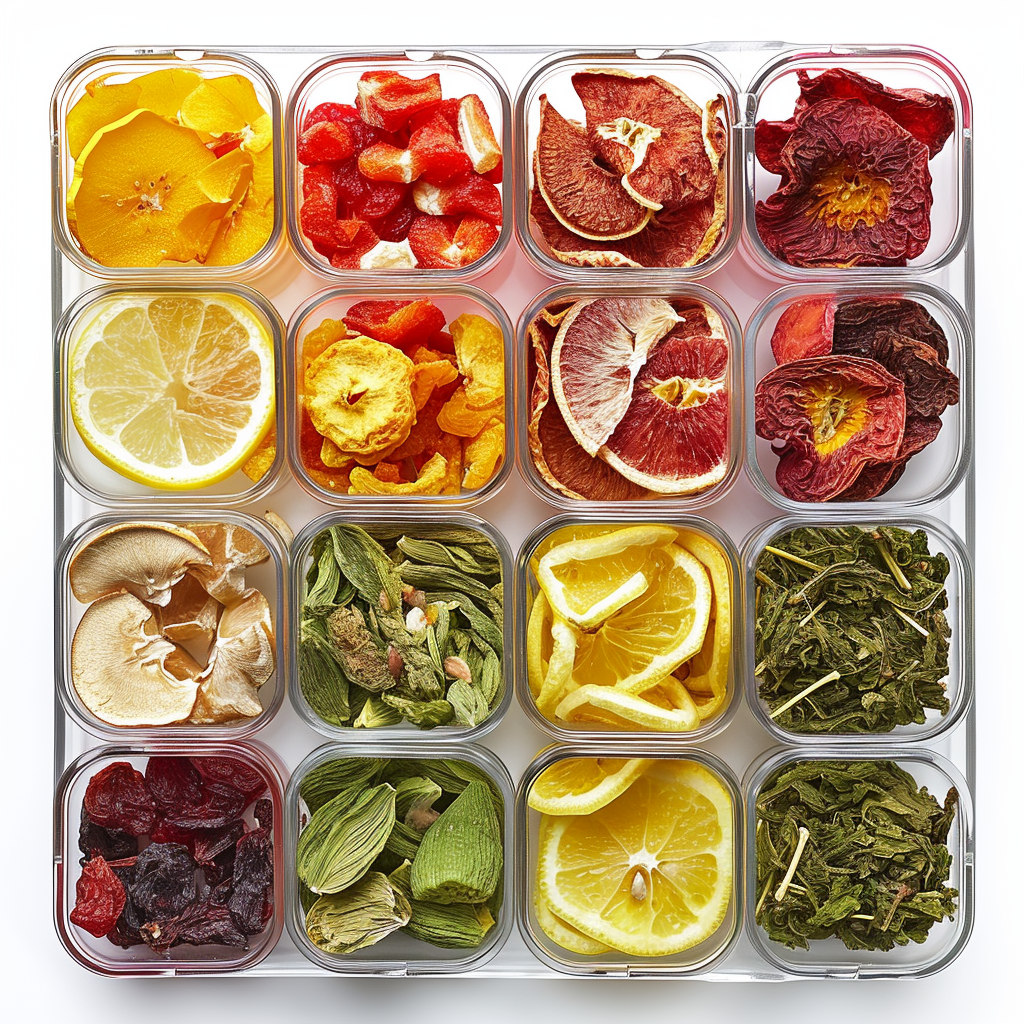
Dehydrating Fruits, Vegetables, and Herbs
Dehydrating fruits, vegetables, and herbs is a straightforward process that can be done using various methods. Here are some tips for dehydrating different types of produce:
- Fruits: Arrange fruits in a single layer on a dehydrator tray or baking sheet lined with parchment paper. Dry at the recommended temperature until the fruits are pliable and no moisture remains.
- Vegetables: Blanch vegetables, cool them rapidly, and pat dry before placing them on the dehydrator trays or baking sheets. Dehydrate at the recommended temperature until the vegetables are crisp and brittle.
- Herbs: Rinse herbs under cold water and gently pat dry. Remove the leaves from their stems and arrange them in a single layer on dehydrator trays or baking sheets. Dry at a low temperature until the herbs are crumbly and free of moisture.
Storing Dehydrated Food
Proper storage is crucial to maintain the quality and longevity of your dehydrated food. After cooling the dehydrated food, ensure that it is completely dry and free of moisture before storing it in airtight containers or vacuum-sealed bags. Place the containers in a cool, dark, and dry location, away from direct sunlight and sources of heat. Properly stored dehydrated food can last for months or even years.
Rehydrating and Utilizing Dehydrated Food
Rehydrating dehydrated food is the process of restoring moisture to the dried produce, making it pliable and usable in various recipes. To rehydrate dehydrated food, soak it in an appropriate amount of water, stock, or liquid for the desired period. The specific soaking times and ratios will vary depending on the type of food being rehydrated.
Rehydrated fruits and vegetables can be used in baking, soups, stews, or eaten as is. Herbs can be crumbled and added to recipes for flavor. Dehydrated meats or jerky can be rehydrated in soups, stews, or used as toppings for salads and pizzas.
Tips for Effective Dehydration
Here are some tips to ensure effective dehydration:
- Follow recommended drying times and temperatures for each type of food.
- Arrange food in a single layer for even drying.
- Rotate trays or racks during the drying process to ensure uniform drying.
- Store dehydrated food in small portions to minimize exposure to air and moisture during use.
- Properly label your dehydrated food with the contents and date to maintain organization and freshness.
By following these tips and guidelines, you can successfully dehydrate a variety of foods and enjoy their benefits for months to come.
With the knowledge and skills gained from this comprehensive guide, you are now equipped to embrace food preservation in your life. By selecting the right methods for your needs, you can enjoy the benefits of preserved food, including extended shelf life, reduced food waste, and greater food security. Whether you choose canning, freezing, dehydration, fermentation, pickling, salting, or smoking, preserving food is a valuable skill that ensures year-round access to delicious and nutritious meals. So, roll up your sleeves, gather your supplies, and start preserving the abundance of the harvest season today!