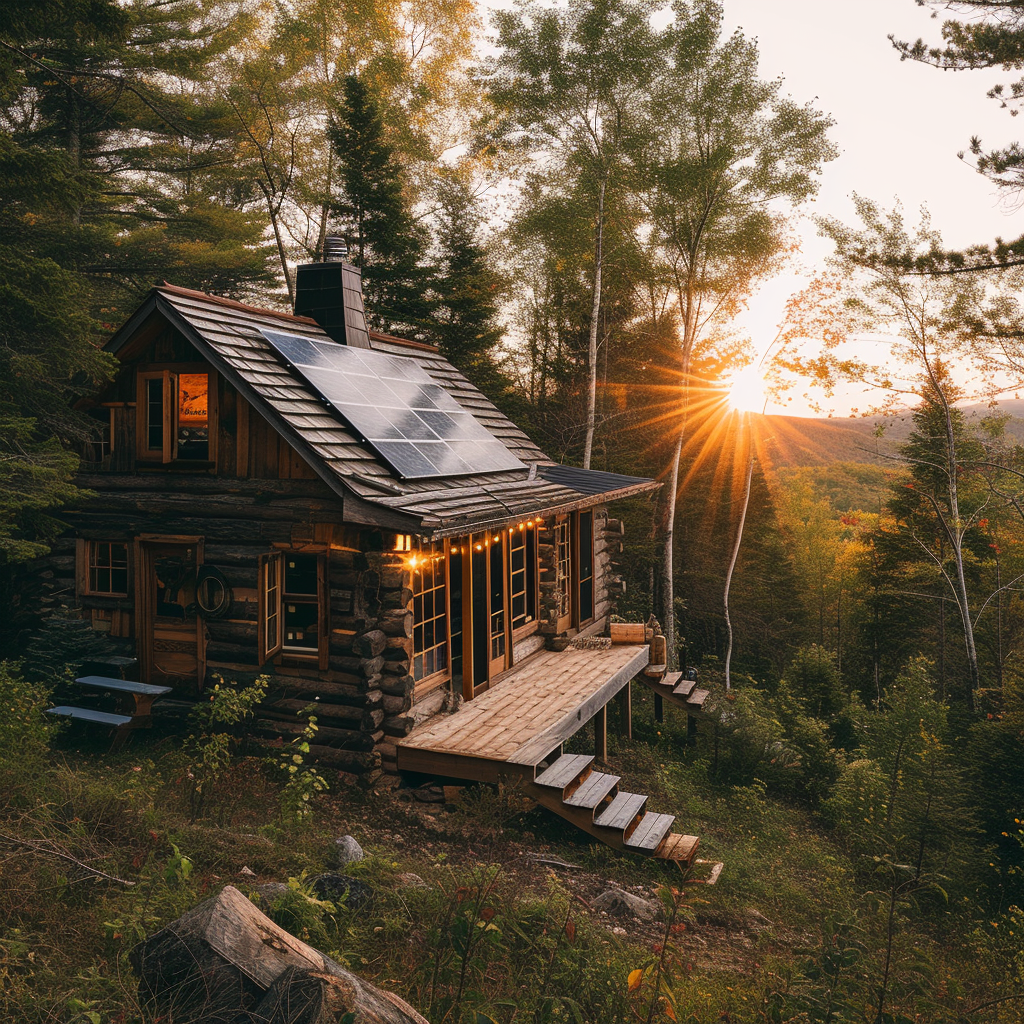
Life away from the grid — it can take various forms, suiting diverse individual goals and needs. For some, it’s about utilizing the latest technology to generate their own power, armed with modern conveniences they can afford. For others, it is about stepping back in time to a simpler, less frantic pace of life.
It’s not always about renouncing modernity in entirety. Some choose to balance a close bond with nature, living off the land, and a sprinkling of technology to keep a foot in the contemporary world. No matter which camp you fall into, there’s one skill that’s absolutely vital for long-term survival in an off-grid lifestyle: learning to preserve your own food.
For many off-gridders, regardless of their use or non-use of technology, tending to a garden and growing their own food is a common practice. With it comes the need to learn methods of preservation for use when your crops are no longer in season. Enter canning — an age-old method that’s stood the test of time.
Canning was probably a way of life for our grandparents. They preserved excess fruits and vegetables, preventing waste, and created an array of jams, jellies, pickles, and more. The beauty of this is the wide variety of products you can create from the simple fruits or veggies you start with.
Canning can be accomplished with minimal supplies, most of which are easy to find in grocery stores, online, or specialty shops. You might even strike gold in your grandma’s basement, with old canning supplies waiting to be put back into action (though thorough cleaning is advised).
For beginners embarking on the canning journey, here’s a basic list of supplies you’ll need:
- Canning Jars and lids: Classic Ball Jars are the most common, but there are other brands. You can find them at many grocery stores brand new, or you can find the jars at thrift shops, yard sales, and various sites like Craigslist or Facebook Market. Aim to use new lids to start with, ensuring cleanliness and safety.
- A water bath canner: Essentially, this is a large pot with a lid. You’ll use this to boil the water to place your jars in to properly seal them. A canning rack to go into your canner/pot is a good idea to prevent jars from cracking.
- A jar lifter: This specially designed set of tongs is more stable and will help prevent dropping hot, glass jars. A decent jar lifter is a wise investment.
Depending on what you’re preserving, you may also need:
- Another large pot or dutch oven to cook your ingredients in
- Pectin for making jams and jellies
- A stir stick (chopsticks will work) to get rid of air bubbles in your almost finished product
- A timer to ensure proper cooking/boiling/set times. Precision is key for a successful, enjoyable outcome.
- A canning funnel, designed to work with canning jars and reduce spillage.
- Plenty of clean towels, as canning can be a messy process
Common kitchen supplies like sharp knives, mixing bowls, strainers, tongs, etc., are also needed, depending on what you’re canning.
While the initial investment might be significant, especially if you’re starting from scratch, it will easily pay for itself. Picture your pantry well-stocked with a variety of home-canned food that can last through the entire year — it’s well worth it.
If you’re looking for guidance, there are a plethora of tutorials and instructions available online or in old-fashioned book form. Get ready to roll up your sleeves and embrace the charm of canning, an essential skill for any off-grid lifestyle.
The Art of Canning: A Step-by-Step Guide
Now that we have our canning supplies ready, let’s dive into the actual process of canning. Don’t worry if it seems a bit daunting at first; like all skills, it becomes more comfortable and intuitive with practice.
Before you begin, ensure that you’ve got everything you need within reach. Cleanliness is crucial in canning, so make sure your work area is spotless. Remember to wash your hands and utensils regularly throughout the process.
Step 1: Select and Prepare Your Ingredients
The first step in canning is, of course, selecting your ingredients. Whether it’s fruit from your backyard tree, vegetables from your garden, or ingredients purchased from a local farmer’s market, make sure you select high-quality, ripe, but not overripe produce.
Wash your fruits and vegetables thoroughly to remove any dirt or debris. Cut them into desired sizes and shapes. Some recipes might require you to peel your produce or remove the seeds, so make sure to follow your chosen recipe.
Step 2: Prepare Your Jars and Lids
While you’re preparing your ingredients, you should also start prepping your canning jars and lids. Jars should be clean and free of any chips or cracks. You can sterilize your jars by boiling them in your water bath canner for 10 minutes (adjust this time if you live at a high altitude). Lids should be kept in hot (not boiling) water until you’re ready to use them.
Step 3: Fill Your Jars
Next, fill your jars with the prepared food. Depending on your recipe, you might need to add hot liquid (like syrup, juice, or brine) to cover the produce. Use a spatula or chopstick to remove air bubbles by sliding it down the side of the jar and gently shifting the food, allowing the trapped air to escape. Leave the appropriate amount of headspace, the gap between the top of the food and the top of the jar. This varies by recipe, but it’s typically between 1/4 and 1/2 inch.
Step 4: Seal the Jars
Wipe the rims of your jars with a clean, damp cloth to remove any food residue. Using your magnetic lid lifter or tongs, carefully place a lid on each jar, then screw on a band until it’s “finger-tight”. Don’t overtighten — the air inside the jar needs to escape during processing.
Step 5: Process Your Jars
Now it’s time to process your jars. This is where the water bath canner comes into play. Place your jars in the canning rack, then lower them into your pot of boiling water. The water should cover the jars by at least 1 inch. Cover the pot and boil for the time specified in your recipe.
Step 6: Cool and Store
After processing, use your jar lifter to remove the jars from the pot. Place them on a towel or cooling rack, leaving space between each jar for air circulation. Let them cool for 12-24 hours. You’ll know the jars have sealed correctly if the lids don’t flex up and down when pressed. Store in a cool, dark place.
Remember, canning is more than a practical way to preserve your food. It’s a chance to savor the season’s best flavors all year round and a fulfilling way to enhance your self-sufficient, off-grid lifestyle. So, whether you’re an off-grid homesteader or a city dweller looking to reconnect with traditional food practices, canning is a skill that’s well worth mastering.
More Than Just Canning: Exploring Other Food Preservation Techniques
While canning is an excellent method of food preservation, it is not the only one. Part of living off-grid is learning multiple skills and strategies to ensure you always have access to nutritious, preserved food. Let’s explore other food preservation methods that are just as important and beneficial.
Dehydrating
Dehydrating food is one of the oldest forms of food preservation. By removing water from your food, you prevent the growth of bacteria, molds, and yeast that can lead to spoilage. Dehydrated food is compact, lightweight, and perfect for long-term storage or on-the-go snacks.
You can dehydrate food using a food dehydrator, your oven, or even natural sunlight, depending on your location and the time of year. Fruits, vegetables, herbs, and even meat (creating jerky) can all be dehydrated. Remember, dehydrated food will need to be stored in a cool, dark place, in airtight containers to maximize shelf life.
Fermenting
Fermentation is another excellent preservation method and one that can enhance the nutritional value of your food. By encouraging the growth of beneficial bacteria, you not only preserve your food but also improve your gut health.
You can ferment many different types of foods, but vegetables are some of the easiest and most popular. Kimchi, sauerkraut, and pickles are all examples of fermented foods. To start fermenting, all you need are your chosen vegetables, water, and salt.
Freezing
If you have access to a power source that can reliably run a freezer, freezing is a great way to preserve food. While it might seem contrary to the spirit of off-grid living, solar power has made freezing a more feasible option for some.
Freezing can maintain the taste and nutritional value of your food better than any other method. However, it’s important to pack your food correctly to prevent freezer burn and maintain quality. Vacuum sealing or wrapping food tightly in plastic wrap and then foil can help to achieve this.
Root Cellaring
Root cellars have been used for centuries to store fruits and vegetables. They work by maintaining a steady temperature and humidity, which helps to slow the natural ripening process. Popular items to store in a root cellar include potatoes, apples, beets, and carrots.
Even if you don’t have a traditional root cellar, you might be able to create similar conditions in a part of your home or by burying a container in the ground.
Preserving Your Way
Living off-grid is all about self-sufficiency and resilience. Mastering food preservation is key to this lifestyle. Whether you choose to can, dehydrate, ferment, freeze, or root cellar your food, remember that each method has its own set of advantages. Your personal circumstances, preferences, and resources will determine which one(s) suit you best.
Don’t be afraid to experiment and try new things. Living off-grid is a learning journey, and preserving your food is a significant part of that journey. Remember, the ultimate goal is to nourish yourself and your loved ones all year round, no matter the season. Enjoy the process, reap the rewards, and savor the peace of mind that comes with being truly self-sufficient.
Let’s Get Practical: Recipes and Resources for Off-Grid Food Preservation
One of the most exciting aspects of food preservation is the creative opportunities it offers. Once you’ve mastered the techniques, you can start experimenting with recipes and flavors to create truly unique, delicious, and nutritious foods. Here are some ideas to get you started:
Canning Recipes
- Homemade Tomato Sauce: This is a classic canning recipe. A supply of homemade tomato sauce can be used in a variety of dishes throughout the year, from pasta to soups and stews.
- Berry Jam: Another classic. Jams and jellies are a great way to make the most of your berry harvest, and they make excellent gifts!
- Pickles: Pickles are not only tasty but also beneficial for gut health. You can pickle cucumbers, of course, but don’t limit yourself! Try pickling other veggies like carrots, green beans, or even a mix.
Dehydrating Recipes
- Fruit Leather: This tasty snack is a great way to use excess fruit. All you need is your favorite fruit, a sweetener if desired, and a dehydrator.
- Beef Jerky: High in protein and full of flavor, homemade jerky is a nutritious snack for long winter nights or hiking trips.
Fermenting Recipes
- Sauerkraut: This fermented cabbage dish is full of probiotics and can last for months when properly stored.
- Kimchi: A spicy Korean side dish, kimchi is great for gut health and adds a flavorful kick to any meal.
For detailed instructions and more recipe ideas, I recommend these resources:
- “Ball Complete Book of Home Preserving”: A comprehensive guide to home canning and preserving, this book has over 400 recipes!
- The Dehydrator Bible”: This book has over 400 dehydrator recipes that cover everything from fruits and veggies to meats and more.
- “Wild Fermentation”: A great guide to the art and science of fermentation with plenty of easy-to-follow recipes.
Remember, the most important thing about living off the grid and preserving your own food is to enjoy the journey. It’s about more than just survival—it’s about creating a meaningful, sustainable lifestyle that aligns with your values and aspirations.
Whether you’re a technology enthusiast harnessing the power of solar panels and modern appliances or a simplicity seeker returning to ancestral skills and wisdom, preserving your food is an empowering step towards greater self-reliance and resilience. So grab those canning jars or that dehydrator tray, and let’s get preserving!
Conclusion: The Satisfying Reward of a Self-Sustaining Lifestyle
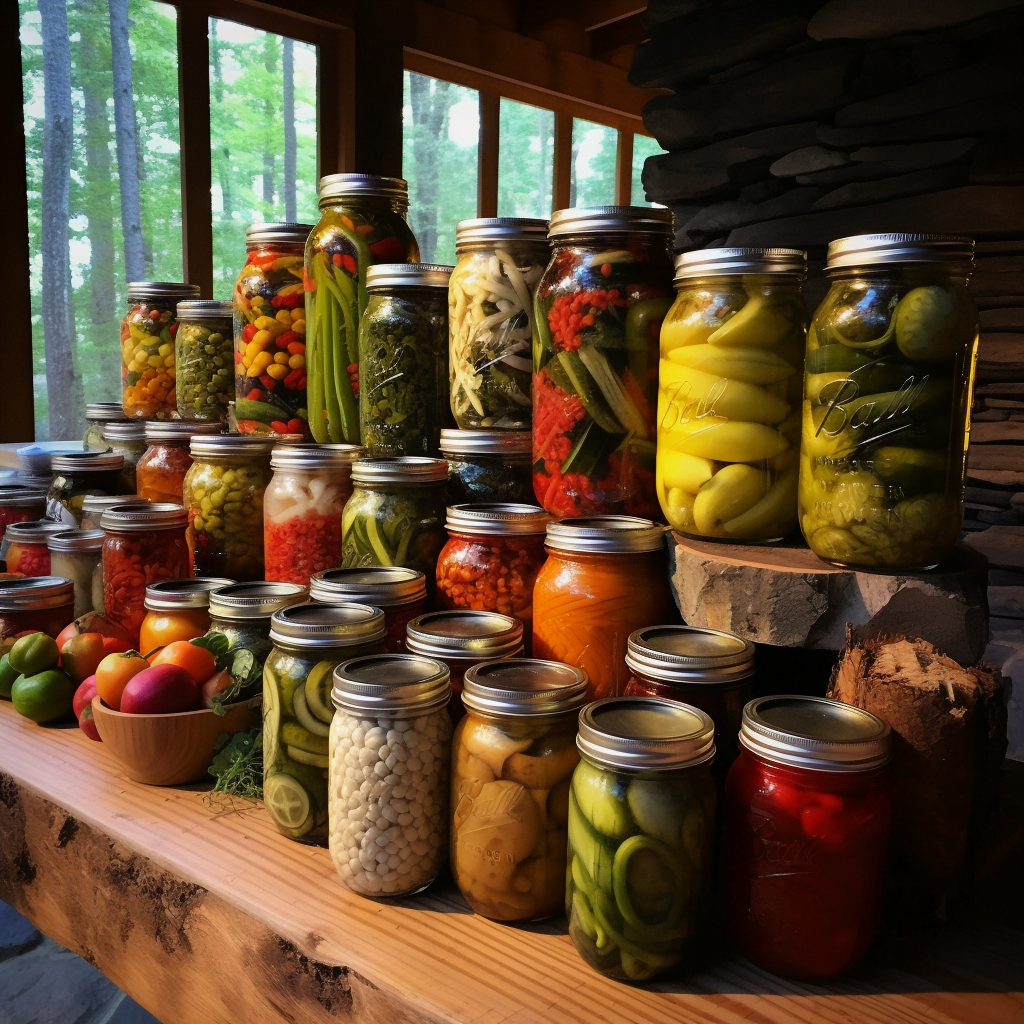
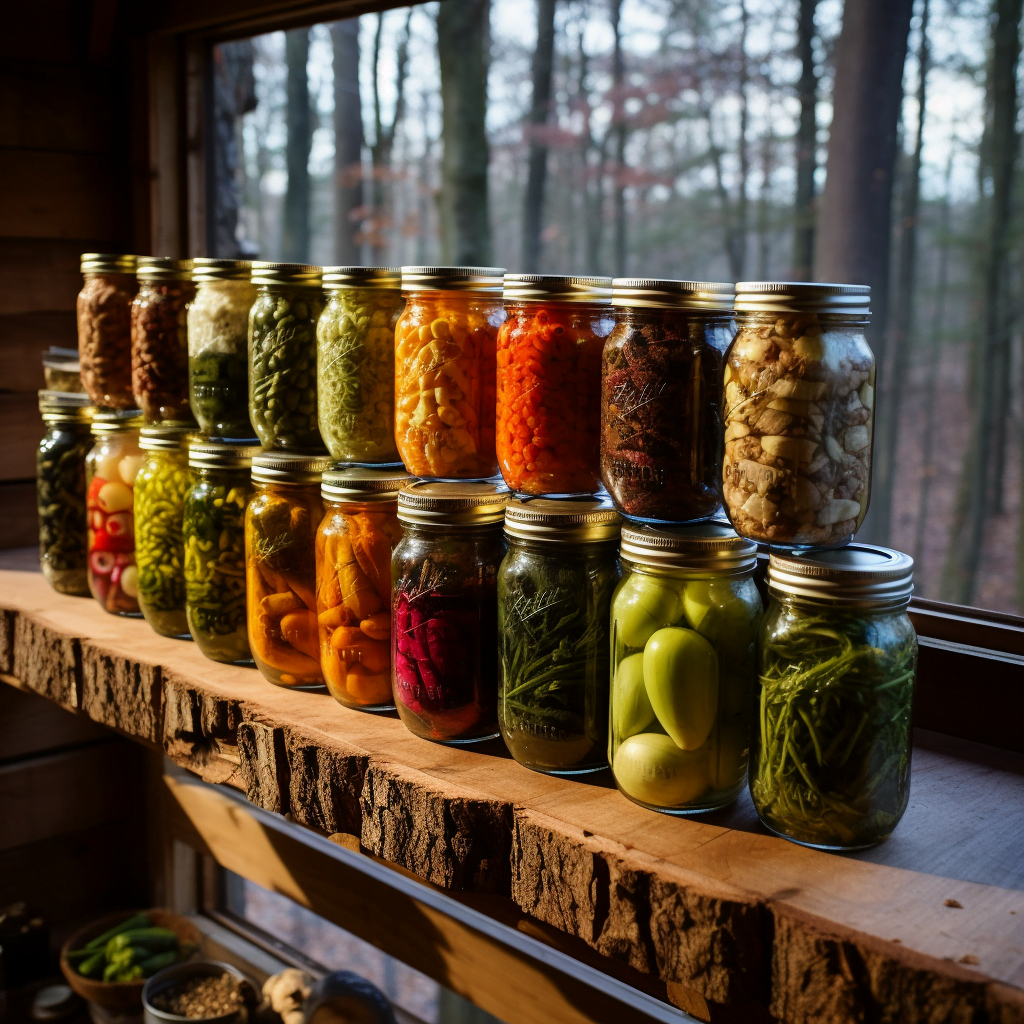
After all is said and done, the rewards of learning how to preserve your own food go far beyond practicality. Yes, it’s a life-skill that is truly valuable, but the satisfaction you derive from this is beyond measure. When you open your pantry to see rows upon rows of colorful jars filled with the bounty of your garden that you yourself have preserved, you feel a deep sense of accomplishment and peace.
“Living off-grid is about embracing independence, self-sufficiency, and the satisfaction of mastering ancient skills in a modern world. Learning to preserve your own food is not just about survival, it’s about embracing a lifestyle that is healthy, sustainable, and deeply rewarding.”
Besides the sense of achievement, there’s also the benefit of knowing exactly what goes into your food. You control the ingredients, so there’s no need to worry about preservatives, artificial colors, or high fructose corn syrup. Instead, you’re filling your body with wholesome, nutrient-rich foods that you’ve lovingly prepared from scratch.
Additionally, it’s worth mentioning that preserved food can also make excellent gifts. A jar of homemade jam or pickles carries the personal touch and time investment that no store-bought gift can replicate.
By embracing the art of food preservation, you’re not just adding another tool to your off-grid living toolkit. You’re taking part in a traditional practice that nourishes your body, respects the earth, and strengthens your connection with nature’s rhythms.
In the end, living off-grid, like any lifestyle, is what you make of it. It’s about living according to your own rules, in alignment with your personal values and aspirations. So whether you’re all-in for high-tech homesteading or prefer the simplicity of a low-tech existence, remember that preserving your own food is an essential part of the journey. It’s a skill that’s not only rewarding but also timeless—a link to our ancestors, who understood and honored the cyclical dance of the seasons and the bounty they bring. Embrace the practice, and you’ll find it brings you closer to the earth, to your food, and ultimately, to yourself.
Frequently Asked Questions
1. What types of food can I preserve?
Answer: There are numerous types of food you can preserve, from fruits and vegetables to meats and dairy. The method of preservation will depend on the type of food. Canning, pickling, and fermenting are excellent for fruits and vegetables. Smoking, curing, and dehydrating can be used for meats and some types of dairy.
2. Is home preservation safe?
Answer: Home preservation is safe as long as you follow proper methods and take precautions. Ensure you thoroughly clean all your tools and jars before use, follow the correct procedures for each preservation method, and store your preserved food properly. Always check for signs of spoilage before consuming preserved food.
3. How long will my preserved food last?
Answer: The shelf life of preserved food can vary greatly depending on the food type and preservation method. As a general rule, canned goods can last up to a year or longer if stored in a cool, dry, and dark place. Always check the food before consuming, and if in doubt, throw it out.
4. How do I start learning to preserve my own food?
Answer: Start by researching different preservation methods and understanding which ones would be best for the types of food you have available. Numerous resources are available online, in books, or even through local classes. Start small and gradually increase your skills as you become more comfortable.
5. Can I preserve food even if I don’t have a garden?
Answer: Absolutely! You can preserve store-bought fruits and vegetables or foods obtained from farmer’s markets or fruit/vegetable stands. The key is to choose fresh, high-quality produce for the best results.
6. Can I make preserved food as gifts?
Answer: Certainly! Preserved foods make excellent gifts. They are personal, unique, and show a lot of care. Just make sure to let the recipient know what’s in the jar and how long it should last.