In this article, we’ll discuss effective methods for long-term food storage. We’ll explore the topic of off-grid living and how it relates to storing food indefinitely. By the end of the article, you’ll have a better understanding of the strategies and techniques you can use to ensure your food supplies last for the long haul. So let’s get started and discover the secrets to successful long-term food storage!
Effective Methods for Long-Term Food Storage
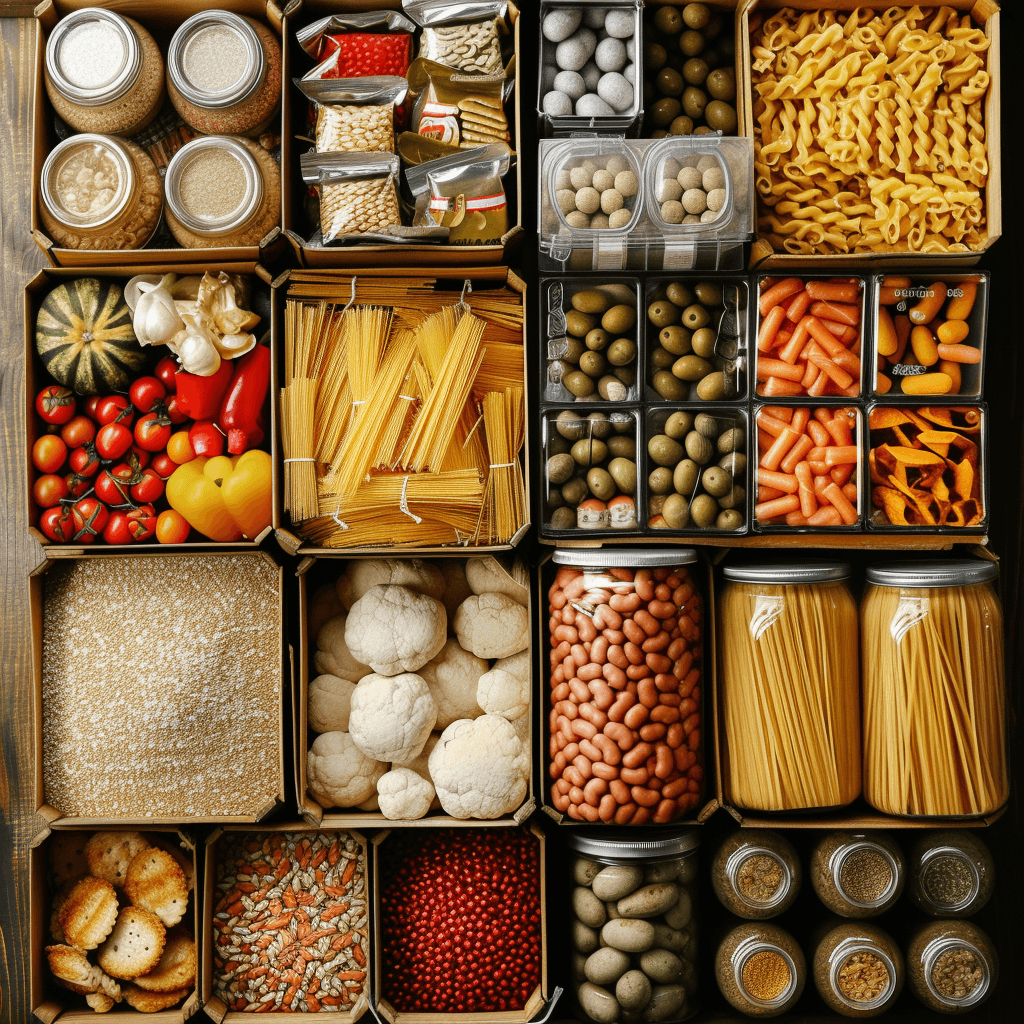
When it comes to long-term food storage, there are several effective methods that can help you preserve your food for extended periods. Whether you are preparing for emergencies, looking to save money by buying in bulk, or exploring off-grid living, having a well-stocked pantry with properly stored food is essential. In this article, we will explore various methods for long-term food storage, including canning, dehydrating, freezing, vacuum sealing, root cellars, pickling, smoking, fermenting, salt preservation, herb and spice infusion, using mylar bags, and utilizing dry ice. By understanding these methods and implementing them correctly, you can ensure that your food remains safe and fresh for an extended period.
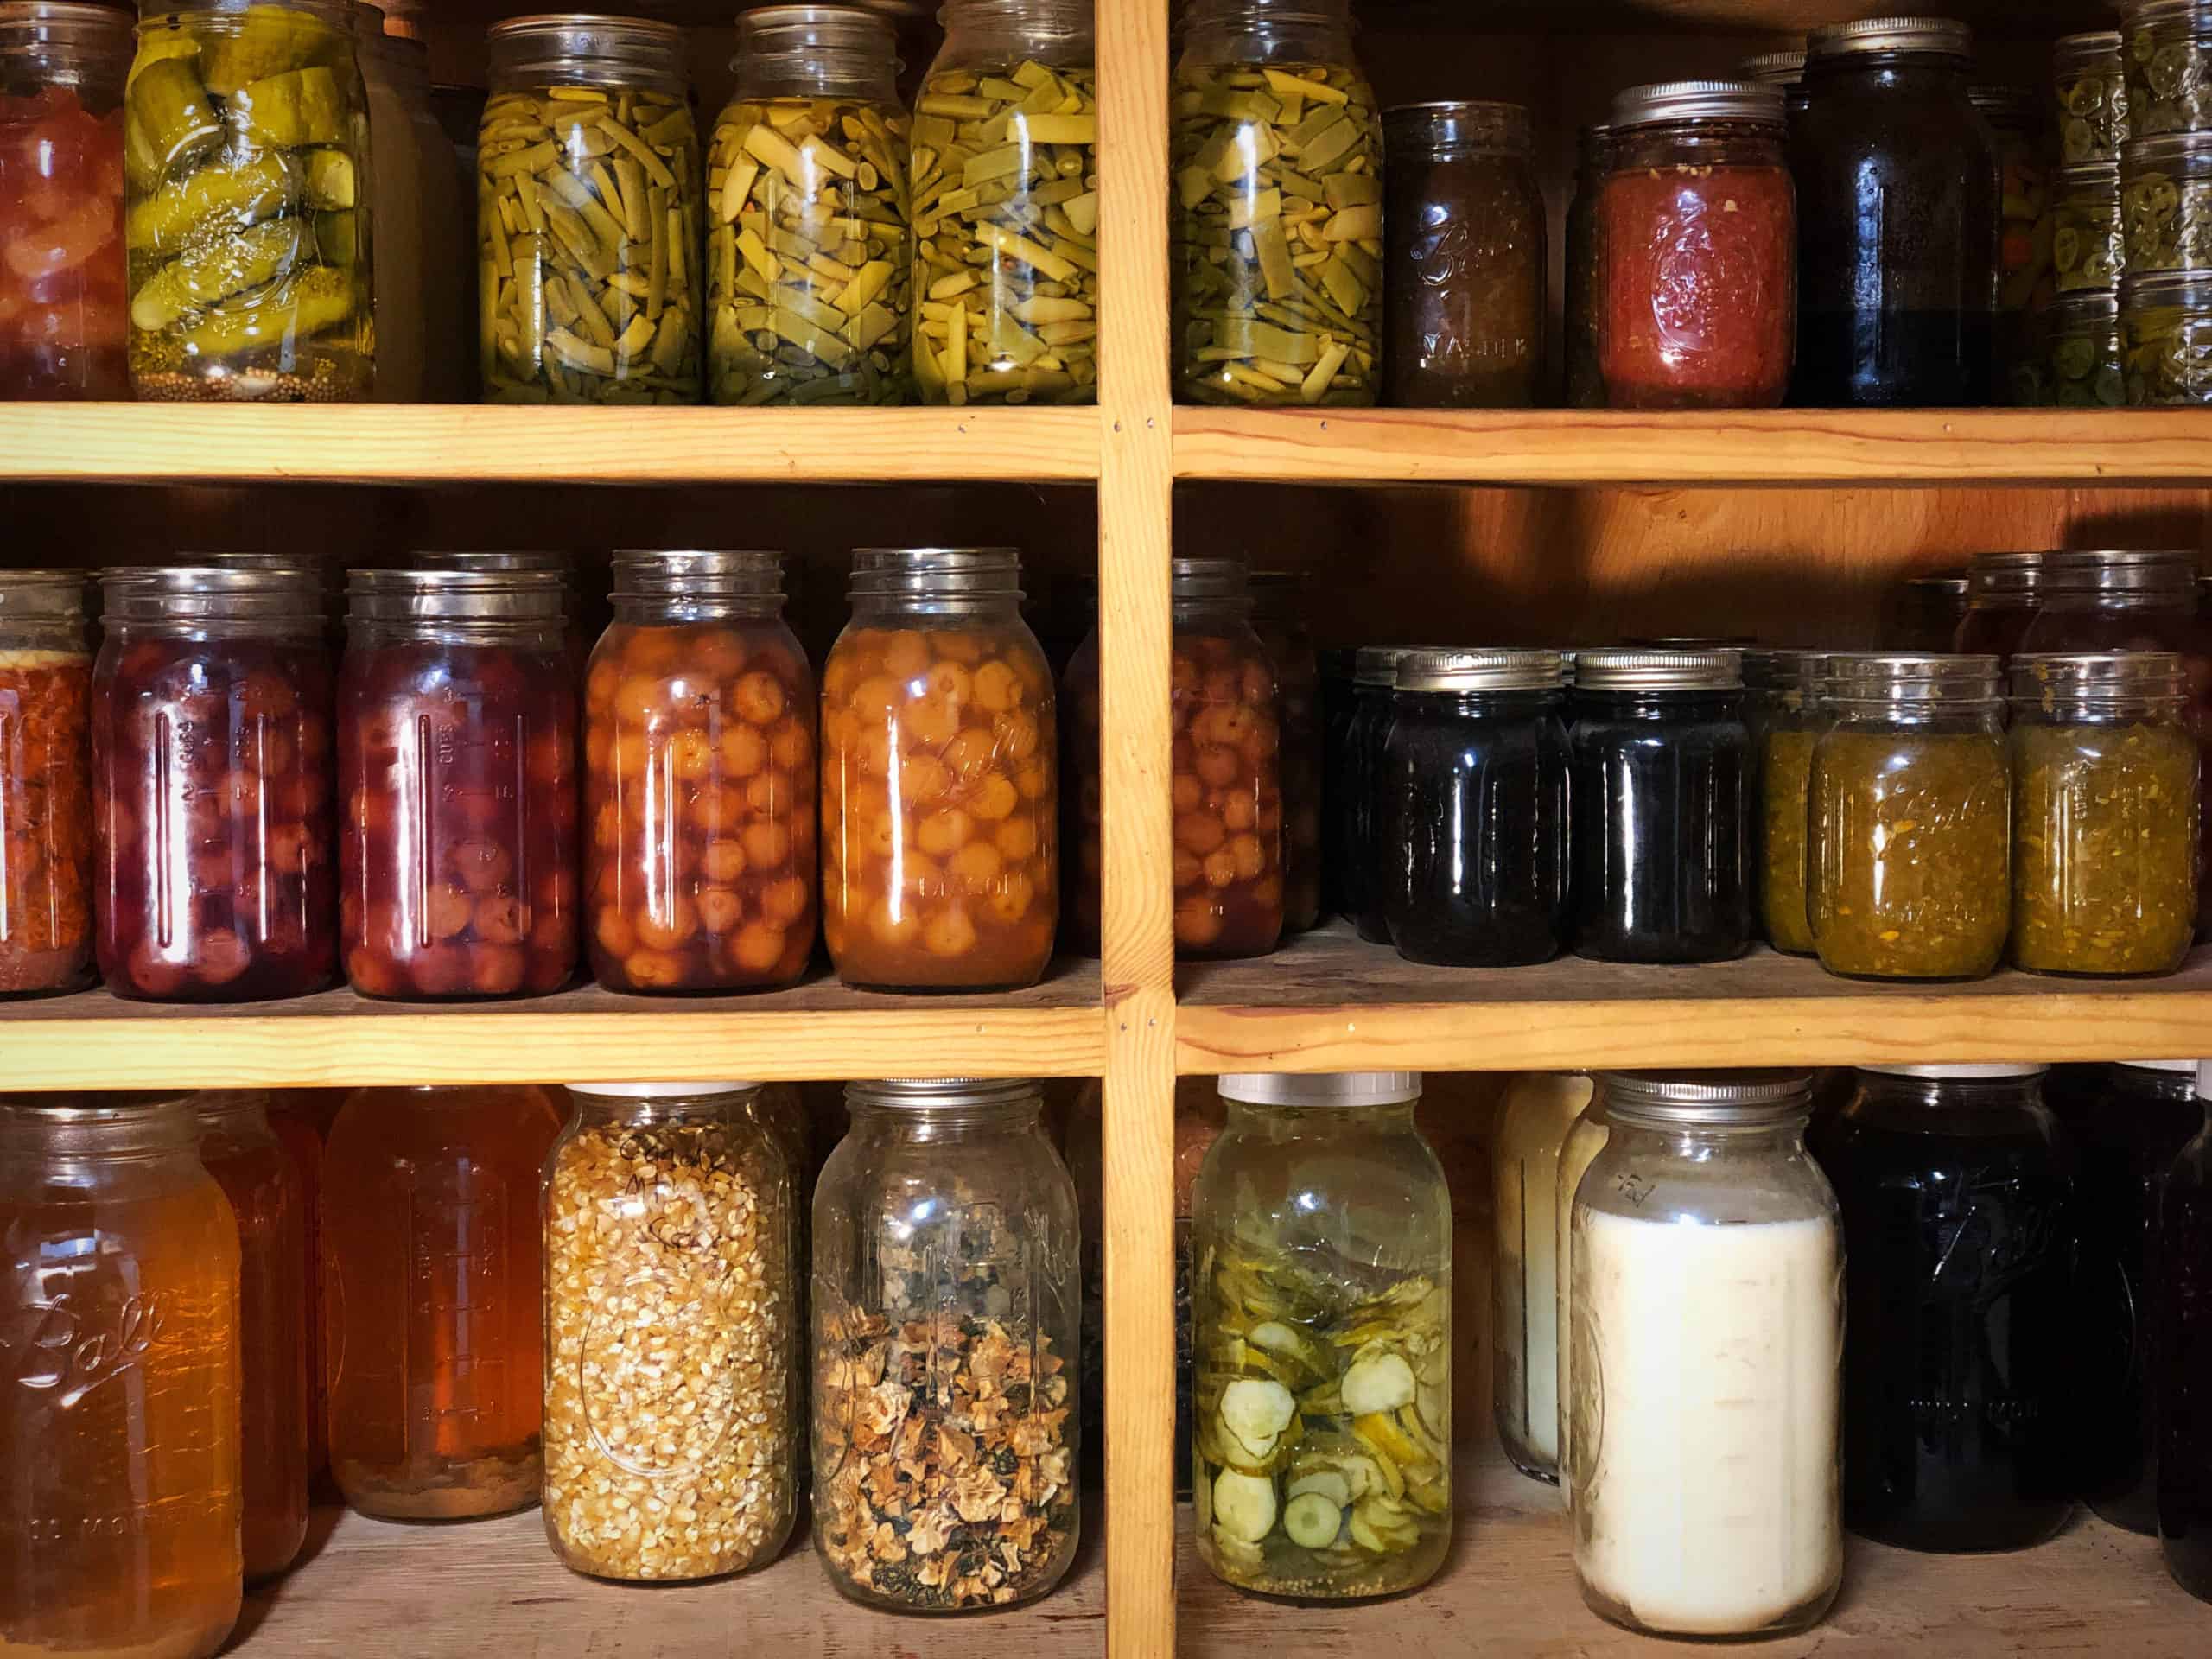
Canning
Canning is one of the most popular long-term food storage methods. It involves preserving food in jars by heat processing them to kill bacteria, yeast, and molds that could spoil the food. There are two main canning methods: water bath canning and pressure canning.
Water Bath Canning
Water bath canning is suitable for high-acid foods such as fruits, pickles, and jams. To begin, gather your jars, lids, and bands and make sure they are in good condition. Prepare your food by washing, peeling, and cutting it as needed. Next, place the food in the jars and add the canning liquid, leaving adequate headspace. After sealing the jars, process them in a boiling water bath for the recommended time. Finally, take the jars out and allow them to cool. Check the seals and store the jars in a cool, dark place.
Pressure Canning
Pressure canning is necessary for low-acid foods, including vegetables, meats, and seafood. The process involves using a pressure canner to reach and maintain a higher temperature than a water bath canner. This is crucial for eliminating the risk of botulism, a deadly bacteria that can thrive in low-acid environments. Follow the same steps as water bath canning but process the jars at the appropriate pressure for the required time. Once again, check the seals, store the jars in a cool, dark place, and rotate your stock regularly.
Choosing the Right Jars
When selecting jars for canning, opt for those specifically designed for this purpose. Mason jars are a popular choice, as they are durable and come in various sizes. Ensure that the jars are free from cracks and chips, as damaged jars may compromise the safety and longevity of your preserved food.
Preparation and Sterilization
Before canning your food, make sure to properly wash and sterilize your jars, lids, and bands. This can be done by boiling the jars in water for a few minutes or using a dishwasher with a sanitize setting. Sterilizing your equipment ensures that no unwanted bacteria or pathogens are present, reducing the risk of spoilage.
Sealing and Processing
Sealing the jars is an important step in canning. Make sure the lids and bands are free from defects and properly secured onto the jars. After filling the jars with your prepared food, wipe the rims clean before placing the lids and bands on top. Secure the bands until they are fingertip tight, ensuring that there is still some room for air to escape during processing.
To process the jars, follow the recommended processing time and temperature for your specific recipe. This information can be found in trustworthy canning resources or recipe books. Once the processing time is complete, remove the jars from the canner using jar lifters and place them on a towel-lined countertop. Let the jars cool completely before checking the seals. Sealed jars can be stored in a cool, dark place for up to a year or longer. Remember to label your jars with the contents and the date they were canned to maintain proper rotation.
Dehydrating
Dehydrating is another excellent method for long-term food storage. By removing moisture from food, you not only inhibit the growth of bacteria, yeast, and molds but also preserve the nutritional value and flavors of the food. There are various ways to dehydrate food, including air drying and using a food dehydrator.
Air Drying
Air drying is a simple, traditional method of dehydrating food. It involves placing food in a well-ventilated area with low humidity and allowing it to dry naturally over time. Fruits, herbs, and even certain vegetables can be air-dried successfully. Before air drying, ensure that the food is properly washed and sliced into uniform pieces. Arrange the food on drying racks, making sure they are not overlapping. Place the racks in a well-ventilated area away from direct sunlight. Check the food regularly and remove any pieces that show signs of spoilage. Once the food is dry and no longer pliable, store it in airtight containers in a cool, dark place.
Using a Food Dehydrator
Food dehydrators are convenient appliances designed specifically for dehydrating food. They provide controlled heat and air circulation, resulting in efficient and even drying. To use a food dehydrator, prepare the food by washing and slicing it as needed. Arrange the food on the dehydrator trays, making sure to leave space between each piece for proper air circulation. Set the dehydrator to the recommended temperature and drying time for the specific food you are dehydrating. Rotate the trays periodically to ensure even drying. Once the food is dry and crispy, allow it to cool before transferring it to airtight containers for storage.
Preparation and Slicing
Before dehydrating your food, proper preparation is crucial. Wash the produce thoroughly, removing any dirt or debris. For fruits and vegetables, peel and slice them into uniform pieces to promote even drying. When drying herbs, remove the stems and discard any wilted or brown leaves. Preparation varies depending on the food you are dehydrating, so it’s essential to follow specific instructions for each type.
Drying Time and Temperature
The drying time and temperature vary depending on the type of food and the drying method used. Generally, the lower the temperature, the longer the drying time, but the better the retention of nutrients. Follow specific guidelines for each food type and monitor the drying process regularly. Properly dehydrated food should be leathery or crisp, with no signs of moisture or pliability.
Storage and Packaging
Once the food is adequately dehydrated, it is essential to store it properly to maintain its quality and longevity. Store your dried food in airtight containers, such as glass jars with tight-fitting lids, mylar bags with oxygen absorbers, or vacuum-sealed bags. These containers will help protect the food from moisture and pests. Keep the containers in a cool, dark place to prevent exposure to light and heat, which can degrade the quality of the food. Properly stored, dehydrated food can last for several months to years, depending on the type of food and storage conditions.

Freezing
Freezing is a popular method for preserving food because it retains the quality, flavor, and nutritional value of the food. It is especially useful for storing fruits, vegetables, meats, and prepared meals. Proper packaging and labeling are crucial for effective freezing and easy retrieval of frozen items.
Blanching
Before freezing certain fruits and vegetables, blanching is necessary to stop enzyme activity and preserve color, flavor, and texture. Blanching involves briefly boiling the food in water and then rapidly cooling it in ice water. This process is essential for some vegetables, such as broccoli, peas, and carrots. Consult a reliable resource or recipe book for specific blanching times and procedures for different foods.
Packaging for Freezing
When packaging food for freezing, use appropriate containers and materials to maintain the quality and prevent freezer burn. For liquids, such as soups or stews, use freezer-safe, airtight containers or freezer bags. Be sure to leave sufficient headspace to allow for expansion during freezing. For solid foods, such as fruits or vegetables, blanch and cool them before packaging them in freezer bags or vacuum-sealed bags. Remove as much air as possible from the bags to minimize the risk of freezer burn.
Labeling and Organization
Labeling frozen food containers is crucial for easy retrieval and rotation. Clearly mark the contents and date on each container to ensure that older items are used first. This will help you maintain a well-organized freezer and prevent food from being forgotten and wasted.
Defrosting and Using Frozen Foods
When it comes to using frozen foods, proper thawing is essential to maintain food safety. The safest method is to thaw in the refrigerator, allowing the food to defrost slowly at a cool temperature. Other methods include thawing in cold water or using the defrost function on the microwave. Ensure that the food is fully thawed before cooking or consuming.
Vacuum Sealing
Vacuum sealing is an effective method for long-term food storage, as it removes oxygen from the packaging, which helps prevent food spoilage and freezer burn. A vacuum sealer creates an airtight seal, extending the shelf life of food by reducing exposure to air and moisture.
Choosing a Vacuum Sealer
When selecting a vacuum sealer, consider your needs and budget. There are two types of vacuum sealers: handheld sealers and countertop sealers. Handheld sealers are more affordable and portable but may have limitations in terms of bag size. Countertop sealers are larger and more versatile, accommodating various bag sizes and allowing for continuous sealing. Choose a vacuum sealer that suits your specific needs and ensure that it is compatible with your chosen storage bags.
Preparing Food for Vacuum Sealing
Proper preparation before vacuum sealing is crucial for maintaining food quality. For solid foods, such as meat or vegetables, ensure they are clean, dry, and free from excess moisture. For liquids, such as sauces or soups, it is recommended to partially freeze them first before vacuum sealing to prevent spillage or damage to the machine. When using a vacuum sealer, follow the instructions on the machine for bag placement, sealing, and vacuuming.
Sealing and Storage
To vacuum seal your food, place it in a compatible storage bag, leaving sufficient space at the top for sealing. Position the open end of the bag onto the sealing bar of the vacuum sealer and close the lid. Select the appropriate setting on the machine for sealing and vacuuming. Once the process is complete, the bag should be tightly sealed, and the air removed. Properly sealed bags can be stored in the freezer, pantry, or refrigerator, depending on the food type and storage requirements.
Advantages and Disadvantages
Vacuum sealing offers several advantages for long-term food storage. It helps extend the lifespan of perishable food by preventing the growth of bacteria, yeast, and molds. Vacuum-sealed food also retains its nutritional value, flavor, and texture better than other storage methods. However, it is important to note that vacuum sealing is not suitable for all types of food. Some foods, such as delicate fruits or vegetables, may become crushed or compromised during the vacuuming process. Additionally, certain foods, such as raw mushrooms or garlic, can produce gases that may cause the vacuum-sealed bag to inflate. It is essential to research specific food items and consult reliable sources for guidance on vacuum sealing.

Root Cellars
Root cellars have long been used as a natural and sustainable method for storing food, especially root vegetables and fruits. These underground or partially underground structures provide consistent cool temperatures and high humidity, which help slow down the spoilage process and preserve the freshness of the stored food.
Finding the Right Location
When considering building or retrofitting a root cellar, the location is crucial. Look for a well-drained area with good air circulation, away from trees or other structures that could cast shadows. The ideal location is on a north-facing slope, which provides natural insulation and protection from direct sunlight.
Building or Retrofitting a Root Cellar
Building a root cellar requires careful planning and construction. It is essential to design and build the cellar in a way that provides adequate temperature and humidity control. Insulating the walls and floor, ensuring proper ventilation, and using materials such as concrete, stone, or insulated prefab cellars are all important factors to consider. If retrofitting an existing structure, such as a basement, make sure to assess its suitability for storing food and make the necessary modifications.
Temperature and Humidity Control
Maintaining the proper temperature and humidity within a root cellar is key to successful long-term food storage. The temperature should be consistently cool, ideally between 32°F (0°C) and 40°F (4°C) for root vegetables and slightly higher for fruits. Humidity levels should be around 85-95% for root vegetables and 60-70% for fruits. Monitoring and controlling these factors may require insulation, ventilation, and the use of moisture-retaining materials.
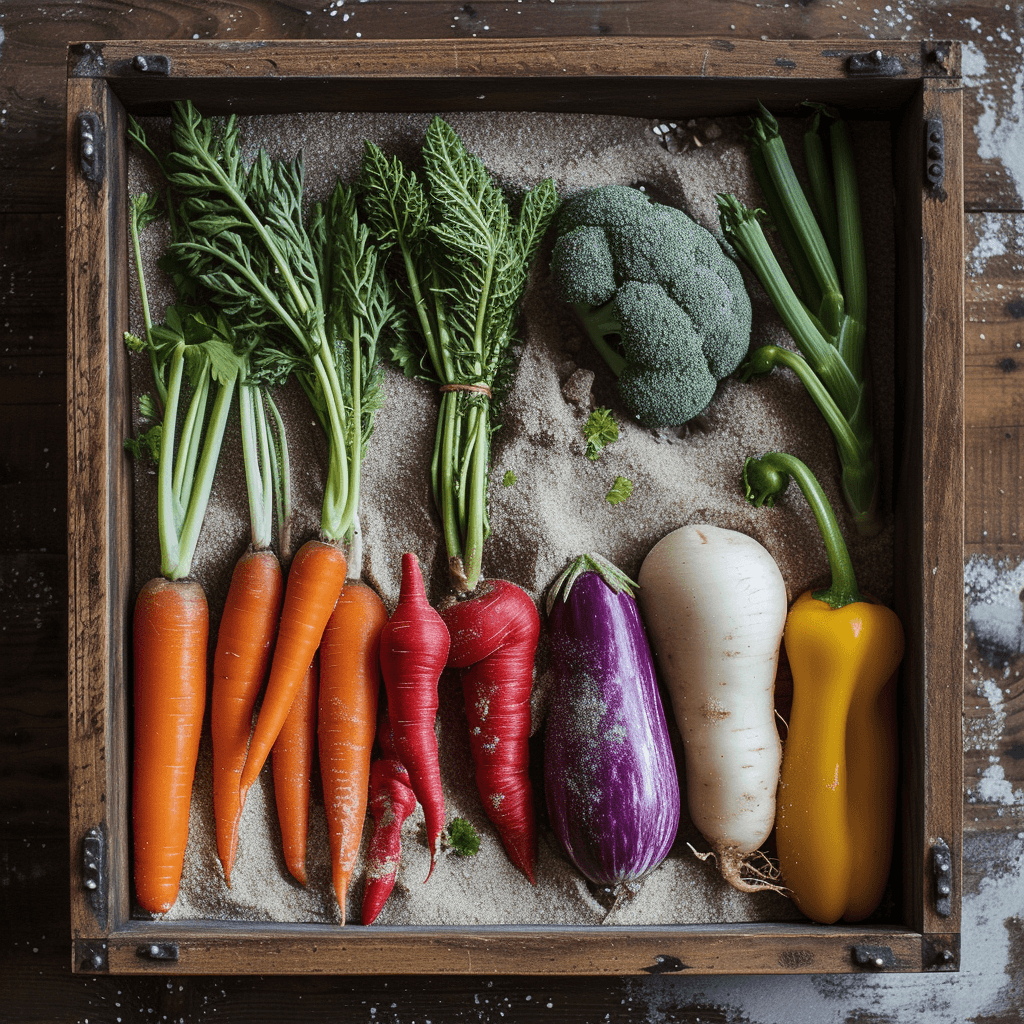
Storing Root Vegetables and Fruits
Proper storage conditions are essential for maximizing the shelf life of root vegetables and fruits in a root cellar. Before storing, clean the produce thoroughly, removing any excess soil or debris. Sort the vegetables and fruits, discarding any damaged, bruised, or diseased ones. For each type of produce, research and follow specific guidelines regarding storage temperature, humidity, and duration. In general, store root vegetables in crates or bins lined with damp sand, sawdust, or straw to maintain humidity. Fruits can be stored in breathable containers or hung in mesh bags to promote air circulation.
Pickling
Pickling is an age-old food preservation method that involves preserving vegetables or fruits in a vinegar or brine solution. This process not only helps prolong the shelf life of the food but also enhances its flavor, creating a tangy and sometimes crisp result. Pickling can be done using various techniques, including quick pickling and fermented pickling.
Choosing the Right Vegetables
Not all vegetables are suitable for pickling. Some vegetables, such as cucumbers, green beans, and radishes, are popular choices due to their texture and ability to retain flavor during the pickling process. Other vegetables, such as zucchini, shallots, or cauliflower, can also be pickled with delicious results. When choosing vegetables for pickling, opt for fresh and firm produce that is free from blemishes or soft spots.
Preparing the Brine
The brine solution is a key component of pickling, as it provides the acidity and flavor that preserves and enhances the taste of the vegetables. A basic brine consists of vinegar, water, and salt, but various spices and herbs can be added to infuse additional flavors. There are countless pickling recipes available, ranging from simple vinegar brines to complex spice blends. Experiment with different combinations of flavors to find your favorite pickle recipe.
Pickle Jar Sterilization
To ensure the safety and longevity of your pickled vegetables, it is crucial to properly sterilize your pickle jars. Thoroughly wash the jars, lids, and bands with hot, soapy water, rinsing them well afterward. Place the jars and lids in a large pot and fill it with enough water to cover the jars completely. Bring the water to a boil and let the jars and lids boil for at least 10 minutes. Alternatively, you can use a dishwasher with a sanitize setting to sterilize the jars and lids.
Basic and Creative Pickling Recipes
When pickling vegetables, the possibilities are endless. Basic pickling involves submerging the vegetables in a brine solution, allowing them to marinate and absorb the flavors over time. Quick pickles, also known as refrigerator pickles, are ready to eat within a few hours or days and do not require the traditional canning process. Fermented pickles, on the other hand, involve the natural fermentation process, creating a tangy and probiotic-rich pickle. Experiment with various vegetables, brines, and seasonings to create unique pickles tailored to your taste.

Smoking
Smoking is a preservation method that not only extends the shelf life of food but also imparts a unique and delicious flavor. It involves exposing food to smoke from burning wood or other materials, creating a preservative layer and infusing a smoky taste. Smoking can be done using two main techniques: hot smoking and cold smoking.
Hot Smoking
Hot smoking involves exposing the food to both heat and smoke, cooking it while imparting a smoky flavor. This method not only preserves the food but also gently cooks it, making it ready to eat or ready for further preparation. Hot smoking is suitable for foods such as fish, poultry, and certain cuts of meat. To hot smoke food, you will need a smoker or grill capable of reaching and maintaining the desired smoking temperature, usually between 180°F (82°C) and 250°F (121°C). Choose the type of wood that complements the food being smoked, such as hickory, applewood, or mesquite. Monitor the internal temperature of the food to ensure it reaches a safe temperature, and allow it to rest before serving.
Cold Smoking
Cold smoking is a technique that exposes the food to smoke without cooking it. It is commonly used for delicate foods that do not require cooking or for foods that will be cooked by other methods later. Cold smoking requires a lower temperature, typically less than 100°F (38°C), to prevent the food from cooking during the smoking process. The goal is to infuse the food with the desired smoky flavor while keeping its original texture. Cold smoking is popular for foods like salmon, cheese, and certain cured meats. Ensure that the smokehouse or smoking device used for cold smoking is properly ventilated and that the food remains within the safe temperature range.
Marinades and Seasonings
To enhance the flavor of smoked food, marinades and seasonings can be used prior to smoking. Marinades help tenderize the meat and infuse it with additional flavors, while seasonings such as rubs or brines add depth and complexity. Experiment with different combinations of herbs, spices, oils, and liquids to create unique marinades and seasonings for your smoked food.
Smoker Maintenance and Safety
Proper maintenance and safety precautions are essential when smoking food. Regularly clean and inspect your smoker to ensure that it is in good working condition. Check for any build-up of creosote or debris that could affect the taste or safety of the smoked food. Follow the specific safety guidelines for your smoker or smoking device, including proper ventilation, safe fueling methods, and monitoring of internal temperatures. Always practice safe food handling and storage to prevent any foodborne illnesses.
Fermenting
Fermentation is a natural preservation method that not only prolongs the shelf life of food but also enhances its nutritional value and flavor. It involves the breakdown of carbohydrates by microorganisms, such as bacteria or yeasts, which produce lactic acid or alcohol. Fermentation can be used to preserve various foods, including vegetables, fruits, and dairy products.
Fermentation Basics
To ferment food, you need to create an environment that supports the growth of beneficial microorganisms while inhibiting the growth of harmful ones. Proper sanitation and hygiene practices are crucial to prevent contamination and ensure a successful fermentation process. Fermentation can occur naturally or be initiated using a starter culture, such as whey or a specific strain of bacteria or yeast.
Fermenting Vegetables
Fermented vegetables, such as sauerkraut and kimchi, have been enjoyed for centuries due to their tangy flavor and probiotic benefits. To ferment vegetables, start by selecting fresh and firm produce, free from blemishes or bruises. Remove any damaged or wilted parts and wash the vegetables thoroughly. Chop or shred the vegetables to your desired size and pack them tightly into a fermentation vessel, such as a jar or crock. Prepare a brine solution using non-chlorinated water and salt. Pour the brine over the vegetables, ensuring they are fully submerged. Place a weight on top to keep the vegetables submerged and cover the vessel with a lid or cloth. Allow the vegetables to ferment at room temperature for the recommended duration, tasting them periodically to gauge the desired level of tanginess and texture. Once fermented, store the vegetables in the refrigerator or other cool storage area.
Pickle Fermentation
Fermented pickles, also known as lacto-fermented pickles, are a variation of traditional pickles that involve the fermentation process. They offer a tangy and probiotic-rich alternative to vinegar-based pickles. To ferment pickles, carefully select fresh and firm cucumbers, free from blemishes or soft spots. Wash the cucumbers thoroughly, removing any dirt or debris. Prepare a brine solution using non-chlorinated water and salt. Place the cucumbers in a fermentation vessel and pour the brine over them, ensuring they are fully submerged. Add spices or herbs for additional flavor, if desired. Place a weight on top to keep the cucumbers submerged and cover the vessel with a lid or cloth. Allow the pickles to ferment at room temperature for the recommended duration, tasting them periodically to achieve the desired flavor and texture. Once fermented, transfer the pickles to the refrigerator for storage.
Safety Tips for Fermentation
Proper safety measures should be followed when fermenting to ensure the success and safety of the process. Use sanitized fermentation vessels and utensils to prevent contamination. Ensure that the food remains fully submerged in the brine to minimize exposure to air, which can lead to spoilage. Monitor the fermentation process regularly, checking for signs of mold, slime, or off odors. If any signs of contamination or spoilage are present, discard the entire batch. Remember to practice good food hygiene throughout the fermentation process, including clean hands, tools, and work surfaces.

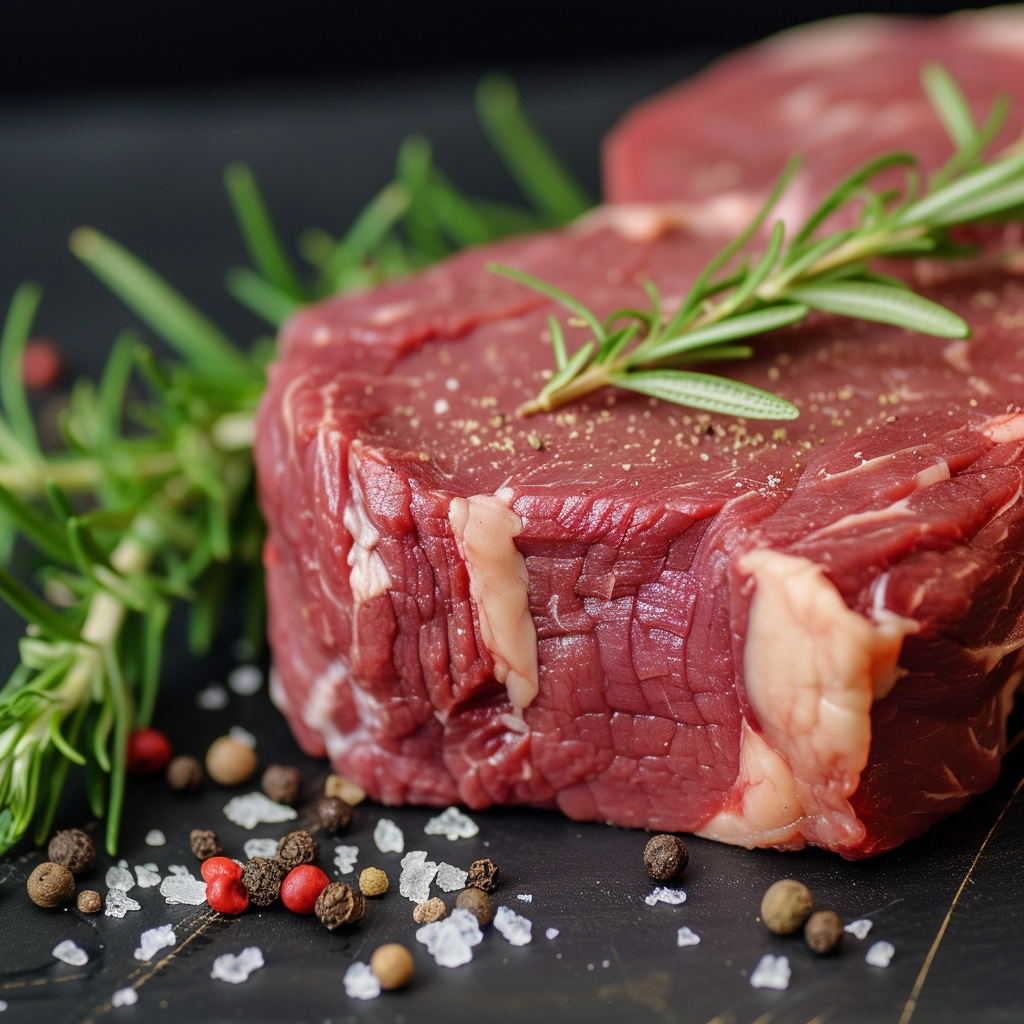
Salt Preservation
Salt preservation, also known as salt-curing, is a method that uses salt to preserve food, primarily meat and fish. It draws out moisture from the food, inhibiting the growth of bacteria and preventing spoilage. Salt preservation also enhances the flavor and texture of the food, resulting in delicious, savory treats.
Salt-Curing Meat and Fish
To salt-cure meat or fish, begin by selecting fresh, high-quality cuts. Trim off any excess fat and remove any bones, if desired. Prepare the salt cure by mixing salt with other seasonings, such as herbs, spices, or sugar, to create a custom blend. Rub the mixture generously over all sides of the meat or fish, ensuring complete coverage. Place the cured meat or fish in a container, such as a non-reactive dish or a vacuum-sealed bag, and refrigerate for the recommended time. The curing process may take several days to weeks, depending on the size and type of food. Once cured, the meat or fish can be rinsed to remove excess salt, sliced thinly, and enjoyed. Salt-cured food should be stored in the refrigerator or other cool storage area.
Salt-Preserved Vegetables
Using salt to preserve vegetables extends their shelf life and creates unique flavors. Salt-preserved vegetables, such as lemons or capers, are popular additions to various cuisines due to their intense and tangy taste. When preserving vegetables with salt, select fresh and firm produce, free from blemishes or soft spots. Prepare the vegetables by cleaning and trimming them as needed. Layer the vegetables with salt in a container or jar, weighing them down to release excess moisture. Ensure that the vegetables remain submerged in the salty liquid, adding more salt if necessary. Store the container in a cool, dark place for the recommended duration, periodically checking the progress. Once preserved, rinse the vegetables to remove excess salt and use them as desired. Salt-preserved vegetables should be stored in the refrigerator or other cool storage area.
Salt and Herb Blends
Salt and herb blends, also known as flavored salts, can not only add flavor to your dishes but also preserve fresh herbs, creating herb-infused salts that can be used for cooking or seasoning. To make a flavored salt, combine kosher salt or sea salt with finely chopped herbs, spices, or citrus zest. The ratio of salt to herbs can vary, depending on personal preference and desired intensity. Thoroughly mix the salt and herbs together and store the blend in an airtight container. Allow the mixture to sit for a few days to allow the flavors to meld before using. Flavored salts can be added to various dishes, enhancing the taste and reducing the need for additional salt.
Long-Term Storage Considerations
When using salt preservation for long-term storage, it is crucial to ensure that the food is fully cured before packing and storing. Any remaining moisture can lead to spoilage or mold growth. To provide additional protection, vacuum-seal salt-cured food in appropriate packaging, such as vacuum-sealed bags, to further minimize exposure to air and moisture. Store salt-cured food in a cool, dark place, such as a pantry or cellar, to maintain its quality and flavor over time.
Herb and Spice Infusion
Infusing herbs and spices into oils or salts is an excellent way to preserve their flavors and incorporate them into various dishes. Infused oils and herb and spice blends are versatile additions to your pantry, allowing you to enhance the taste of your meals easily.
Drying and Grinding Herbs
To preserve herbs and spices, drying and grinding them is a common method. Harvest fresh herbs and spices from your garden or source them from reputable suppliers. Remove any damaged or wilted leaves before washing them gently. Allow the herbs or spices to air dry thoroughly or use a dehydrator or oven set to a low temperature. Once dry, grind the herbs or spices using a mortar and pestle, coffee grinder, or spice grinder. Store the dried herbs and spices in airtight containers, away from light and heat, to maintain their freshness and potency.
Creating Infused Oils
Infused oils offer a convenient way to capture the flavors of herbs and spices. Begin by selecting high-quality, neutral oils, such as grapeseed or olive oil. Clean and dry your chosen herbs or spices before placing them in sterilized glass jars. Heat the oil in a small saucepan until warm but not boiling. Pour the warm oil over the herbs or spices, ensuring they are fully submerged. Allow the mixture to cool completely before sealing the jars. Let the infused oil sit at room temperature for a few days to a week, periodically shaking the jars to mix the flavors. Once infused, strain the oil to remove the solids and transfer it to clean, sterilized bottles or jars. Store the infused oil in a cool, dark place to maintain its quality and flavor.
Making Herbal Salts
Herbal salts are a simple yet flavorful way to preserve the taste of herbs while adding a savory touch to your meals. To make herbal salts, combine dried herbs with kosher or sea salt, using a ratio of approximately four parts salt to one part herbs. Thoroughly mix the herbs and salt together, ensuring even distribution. Store the blended herbal salt in an airtight container in a cool, dark place. Allow the flavors to meld for a few days before using. Herbal salts can be used as a finishing touch for dishes, adding depth and complexity to the flavors.
Storing and Using Herb and Spice Blends
To ensure the longevity and quality of your herb and spice blends, store them in airtight containers in a cool, dark place, away from light, heat, and moisture. Properly stored herbs and spices can maintain their flavor and potency for several months to years. When using herb and spice blends, start with small amounts and adjust according to taste. Experiment with different combinations in various dishes to discover unique flavor profiles.

Mylar Bags
Mylar bags are versatile and effective for long-term food storage, providing an airtight and light-resistant barrier that helps preserve the quality and shelf life of the food. They are commonly used for storing bulk foods, such as grains, beans, and dried goods.
Choosing the Right Mylar Bags
When selecting Mylar bags, opt for those specifically designed for long-term food storage. Look for bags that are food-grade and have a thickness of at least 5 mil. Thicker bags provide better protection against punctures and tears. Ensure that the bags have airtight closures, such as zip locks or heat seals, to prevent air and moisture infiltration.
Oxygen Absorbers and Desiccants
To further enhance the longevity of stored food, oxygen absorbers and desiccants can be used in conjunction with Mylar bags. Oxygen absorbers remove oxygen from the packaging, creating an environment that inhibits the growth of aerobic bacteria that can cause spoilage. Desiccants, such as silica gel packets or powdered milk, help absorb moisture and reduce the risk of mold or mildew growth. Follow the instructions provided by the manufacturer to determine the appropriate number and size of oxygen absorbers or desiccants for your specific storage needs.
Sealing Mylar Bags
Properly sealing Mylar bags is crucial for effective long-term food storage. If using zip-lock bags, squeeze out as much air as possible before sealing the bag tightly. For heat-sealable bags, use a heat sealer to create an airtight seal across the entire width of the bag. If a heat sealer is not available, you can use an iron set to the highest cotton setting with no steam. Place a barrier, such as parchment paper or a cloth, between the iron and the bag, and press the heated iron along the open edge of the bag to create a seal.
Storing and Rotating Food
Once your food is properly sealed in Mylar bags, store them in a cool, dark place, away from sunlight, humidity, and extreme temperature changes. A pantry, cellar, or dedicated storage area works well for long-term food storage. Ensure that the area is well-ventilated and remains at a relatively stable temperature. Periodically check the bags for any signs of damage or punctures, and rotate your food supplies to maintain freshness and prevent waste. Label each bag with its contents and date of storage to facilitate easy retrieval and proper rotation.
Dry Ice
Dry ice is a unique and effective method for flash-freezing food. It is carbon dioxide in its frozen form, which allows for rapid freezing without the need for a conventional freezer. Dry ice can help preserve the texture, flavor, and nutritional value of food, making it an excellent option for long-term storage.
Understanding Dry Ice
Dry ice is extremely cold and should be handled with care. It is readily available from various suppliers, including grocery stores and ice distributors. Dry ice should be stored in a well-insulated container, such as a cooler, to slow down its sublimation process, which is the transition from a solid to a gas. Avoid touching dry ice with bare skin and handle it with insulated gloves or tongs to prevent frostbite.
Using Dry Ice for Flash-Freezing
To use dry ice for flash-freezing food, start by preparing the food for freezing. Clean and dry the food thoroughly, removing any excess moisture. Place the food in a suitable container or bag, ensuring that it is appropriate for freezing. Break the dry ice into small pieces or crush it into a powder. Be sure to wear insulated gloves or use tongs to handle the dry ice during this process. Place the dry ice at the bottom of the container or bag, creating a layer that covers the entire surface. Quickly place the food on top of the dry ice and cover it with an airtight lid or seal the bag tightly. The dry ice will rapidly freeze the food, allowing for the preservation of its quality and freshness.
Dry Ice Safety and Storage
When storing dry ice, it is crucial to handle it with caution to avoid any injuries or accidents. Always store dry ice in a well-ventilated area, as it releases carbon dioxide gas, which can displace oxygen in enclosed spaces. Avoid storing dry ice in airtight containers or coolers that do not allow for the escape of gas. If transporting dry ice in a vehicle, ensure that the area is well-ventilated and never store it in the passenger compartment. Keep dry ice out of the reach of children and pets, as direct contact can cause burns. Lastly, be mindful of the expiration date of the dry ice, as it will eventually sublimate and lose its effectiveness.
Conclusion
Effective long-term food storage is essential for various reasons, ranging from emergency preparedness to off-grid living or simply saving money by buying in bulk. By understanding and implementing the methods discussed in this article, such as canning, dehydrating, freezing, vacuum sealing, root cellars, pickling, smoking, fermenting, salt preservation, herb and spice infusion, using Mylar bags, and utilizing dry ice, you can ensure that your food remains safe, fresh, and flavorful for extended periods. Experiment with different techniques, recipes, and storage methods to find the ones that work best for your needs and preferences. Remember to prioritize proper sanitation, hygiene, and storage conditions to maximize the longevity and quality of your preserved food. Whether you are a seasoned homesteader or a beginner in the realm of long-term food storage, the methods outlined in this article will equip you with the knowledge and confidence to effectively preserve and enjoy your food for years to come.